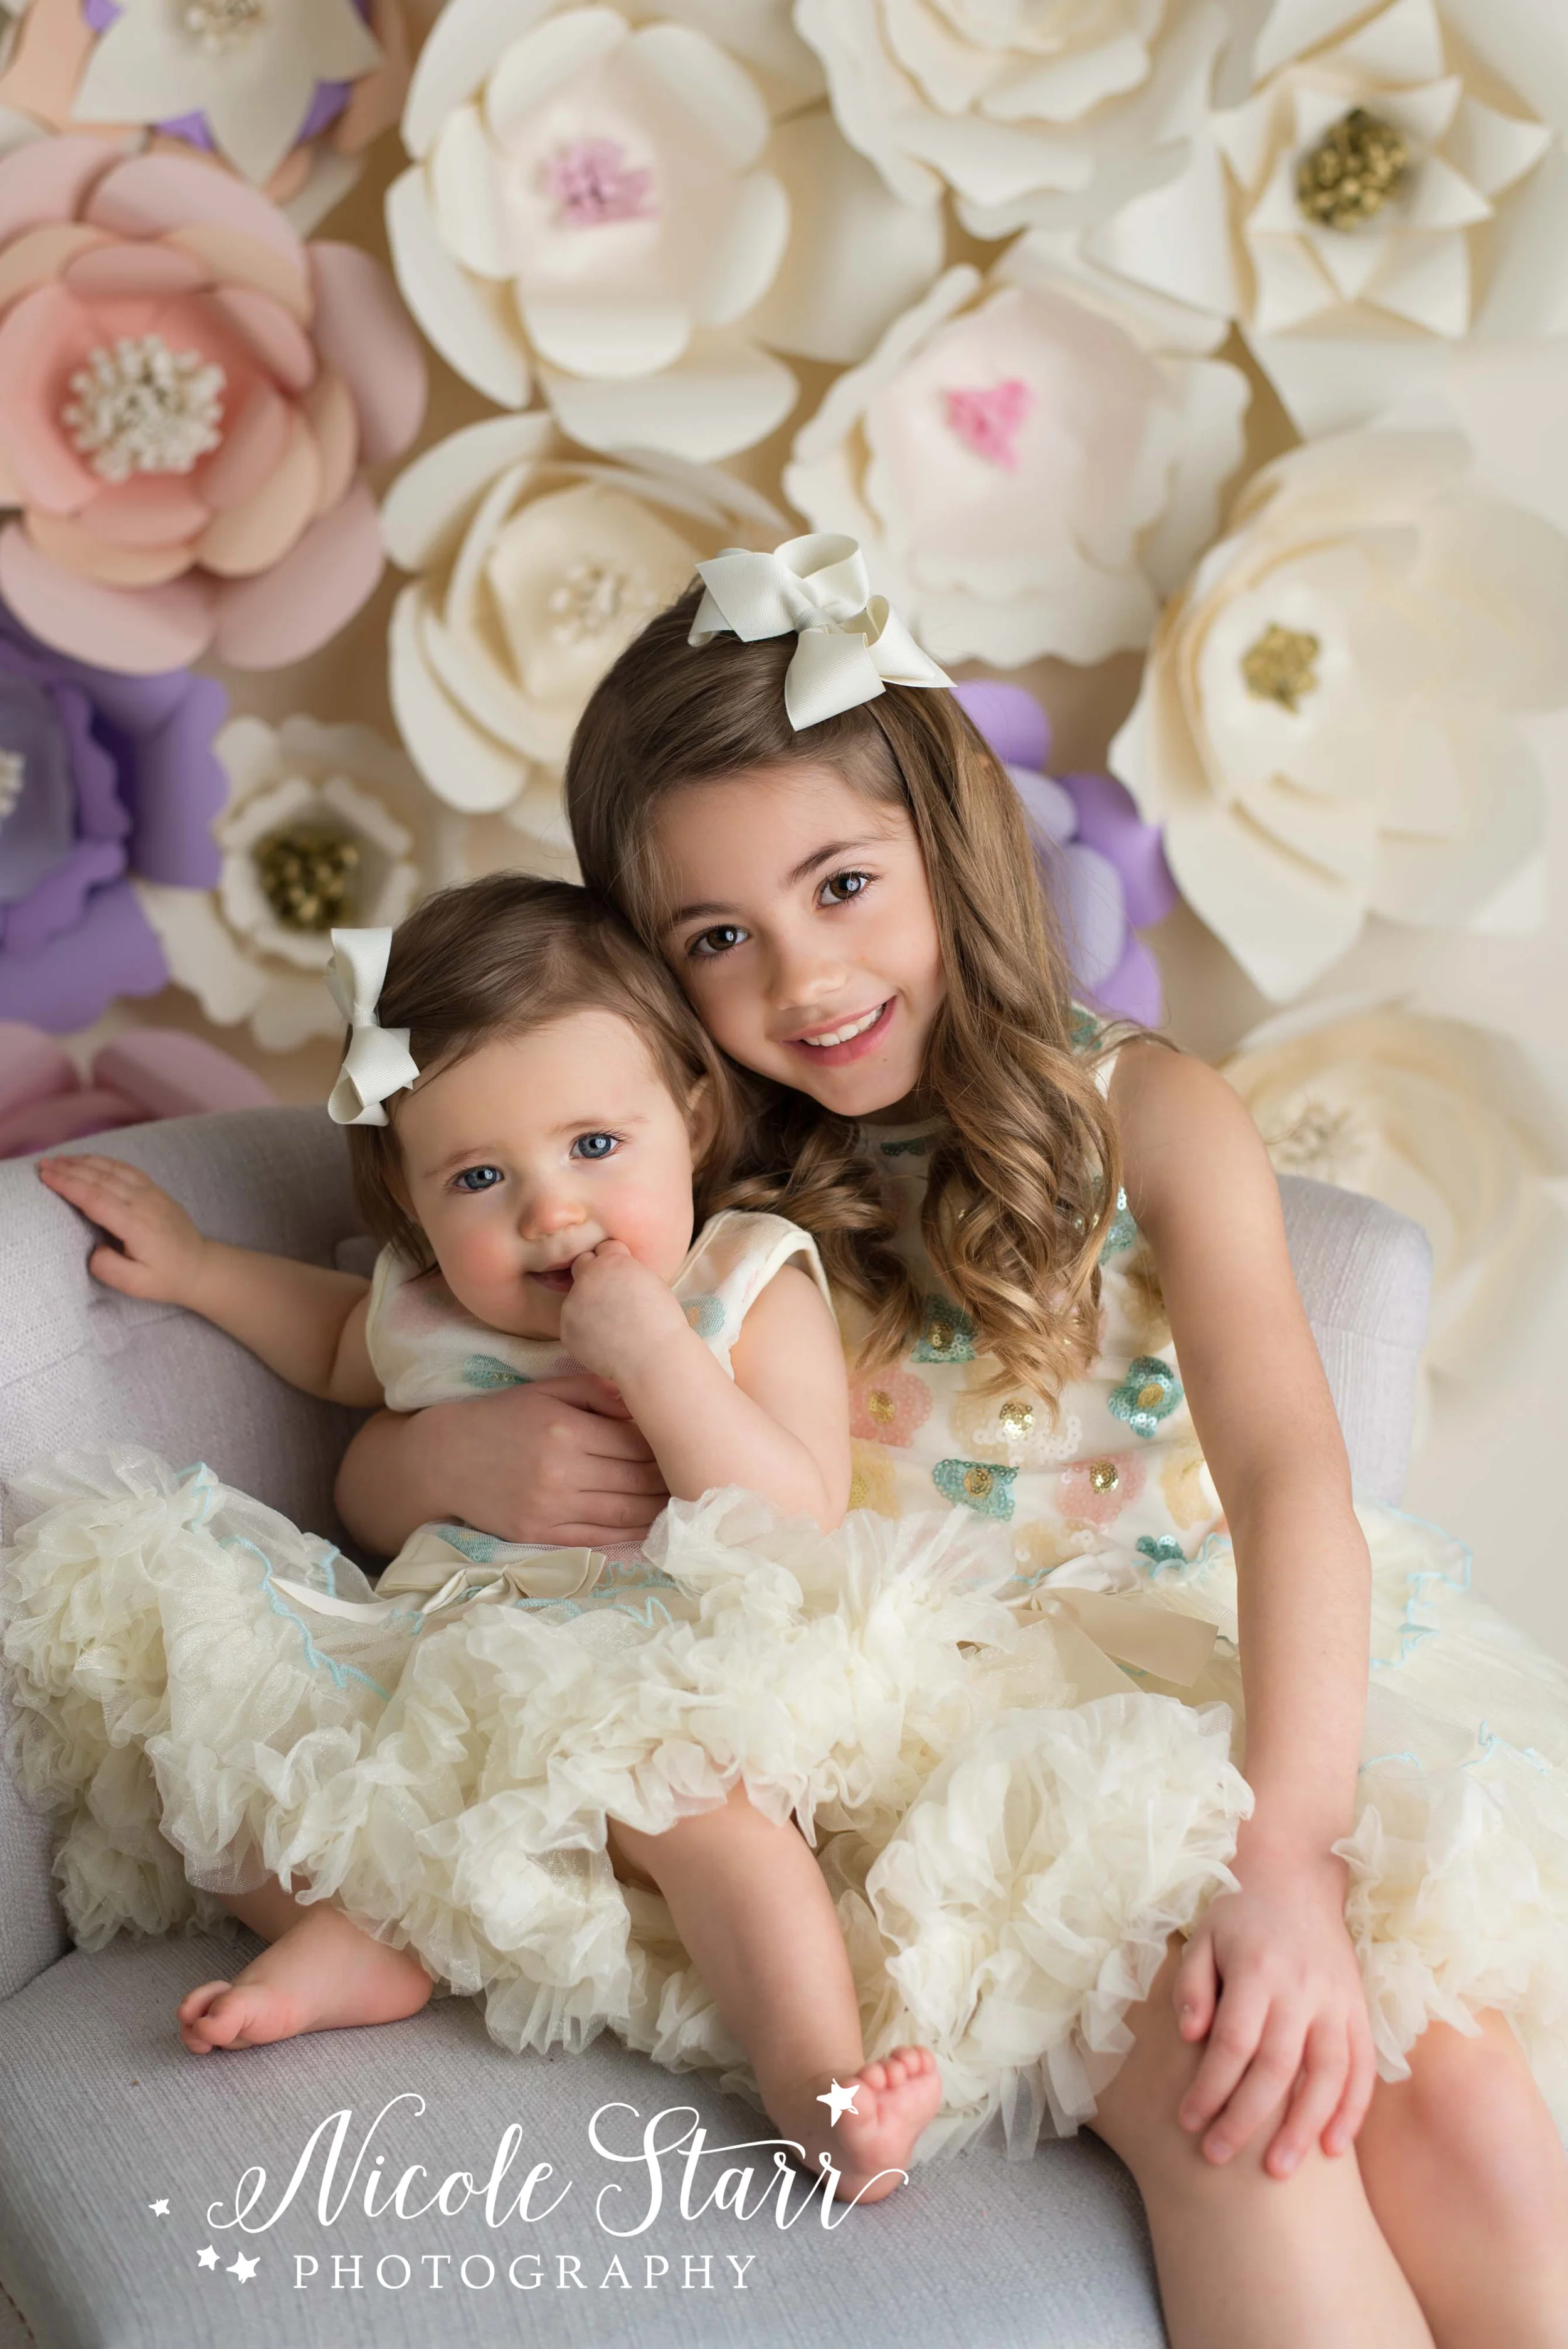
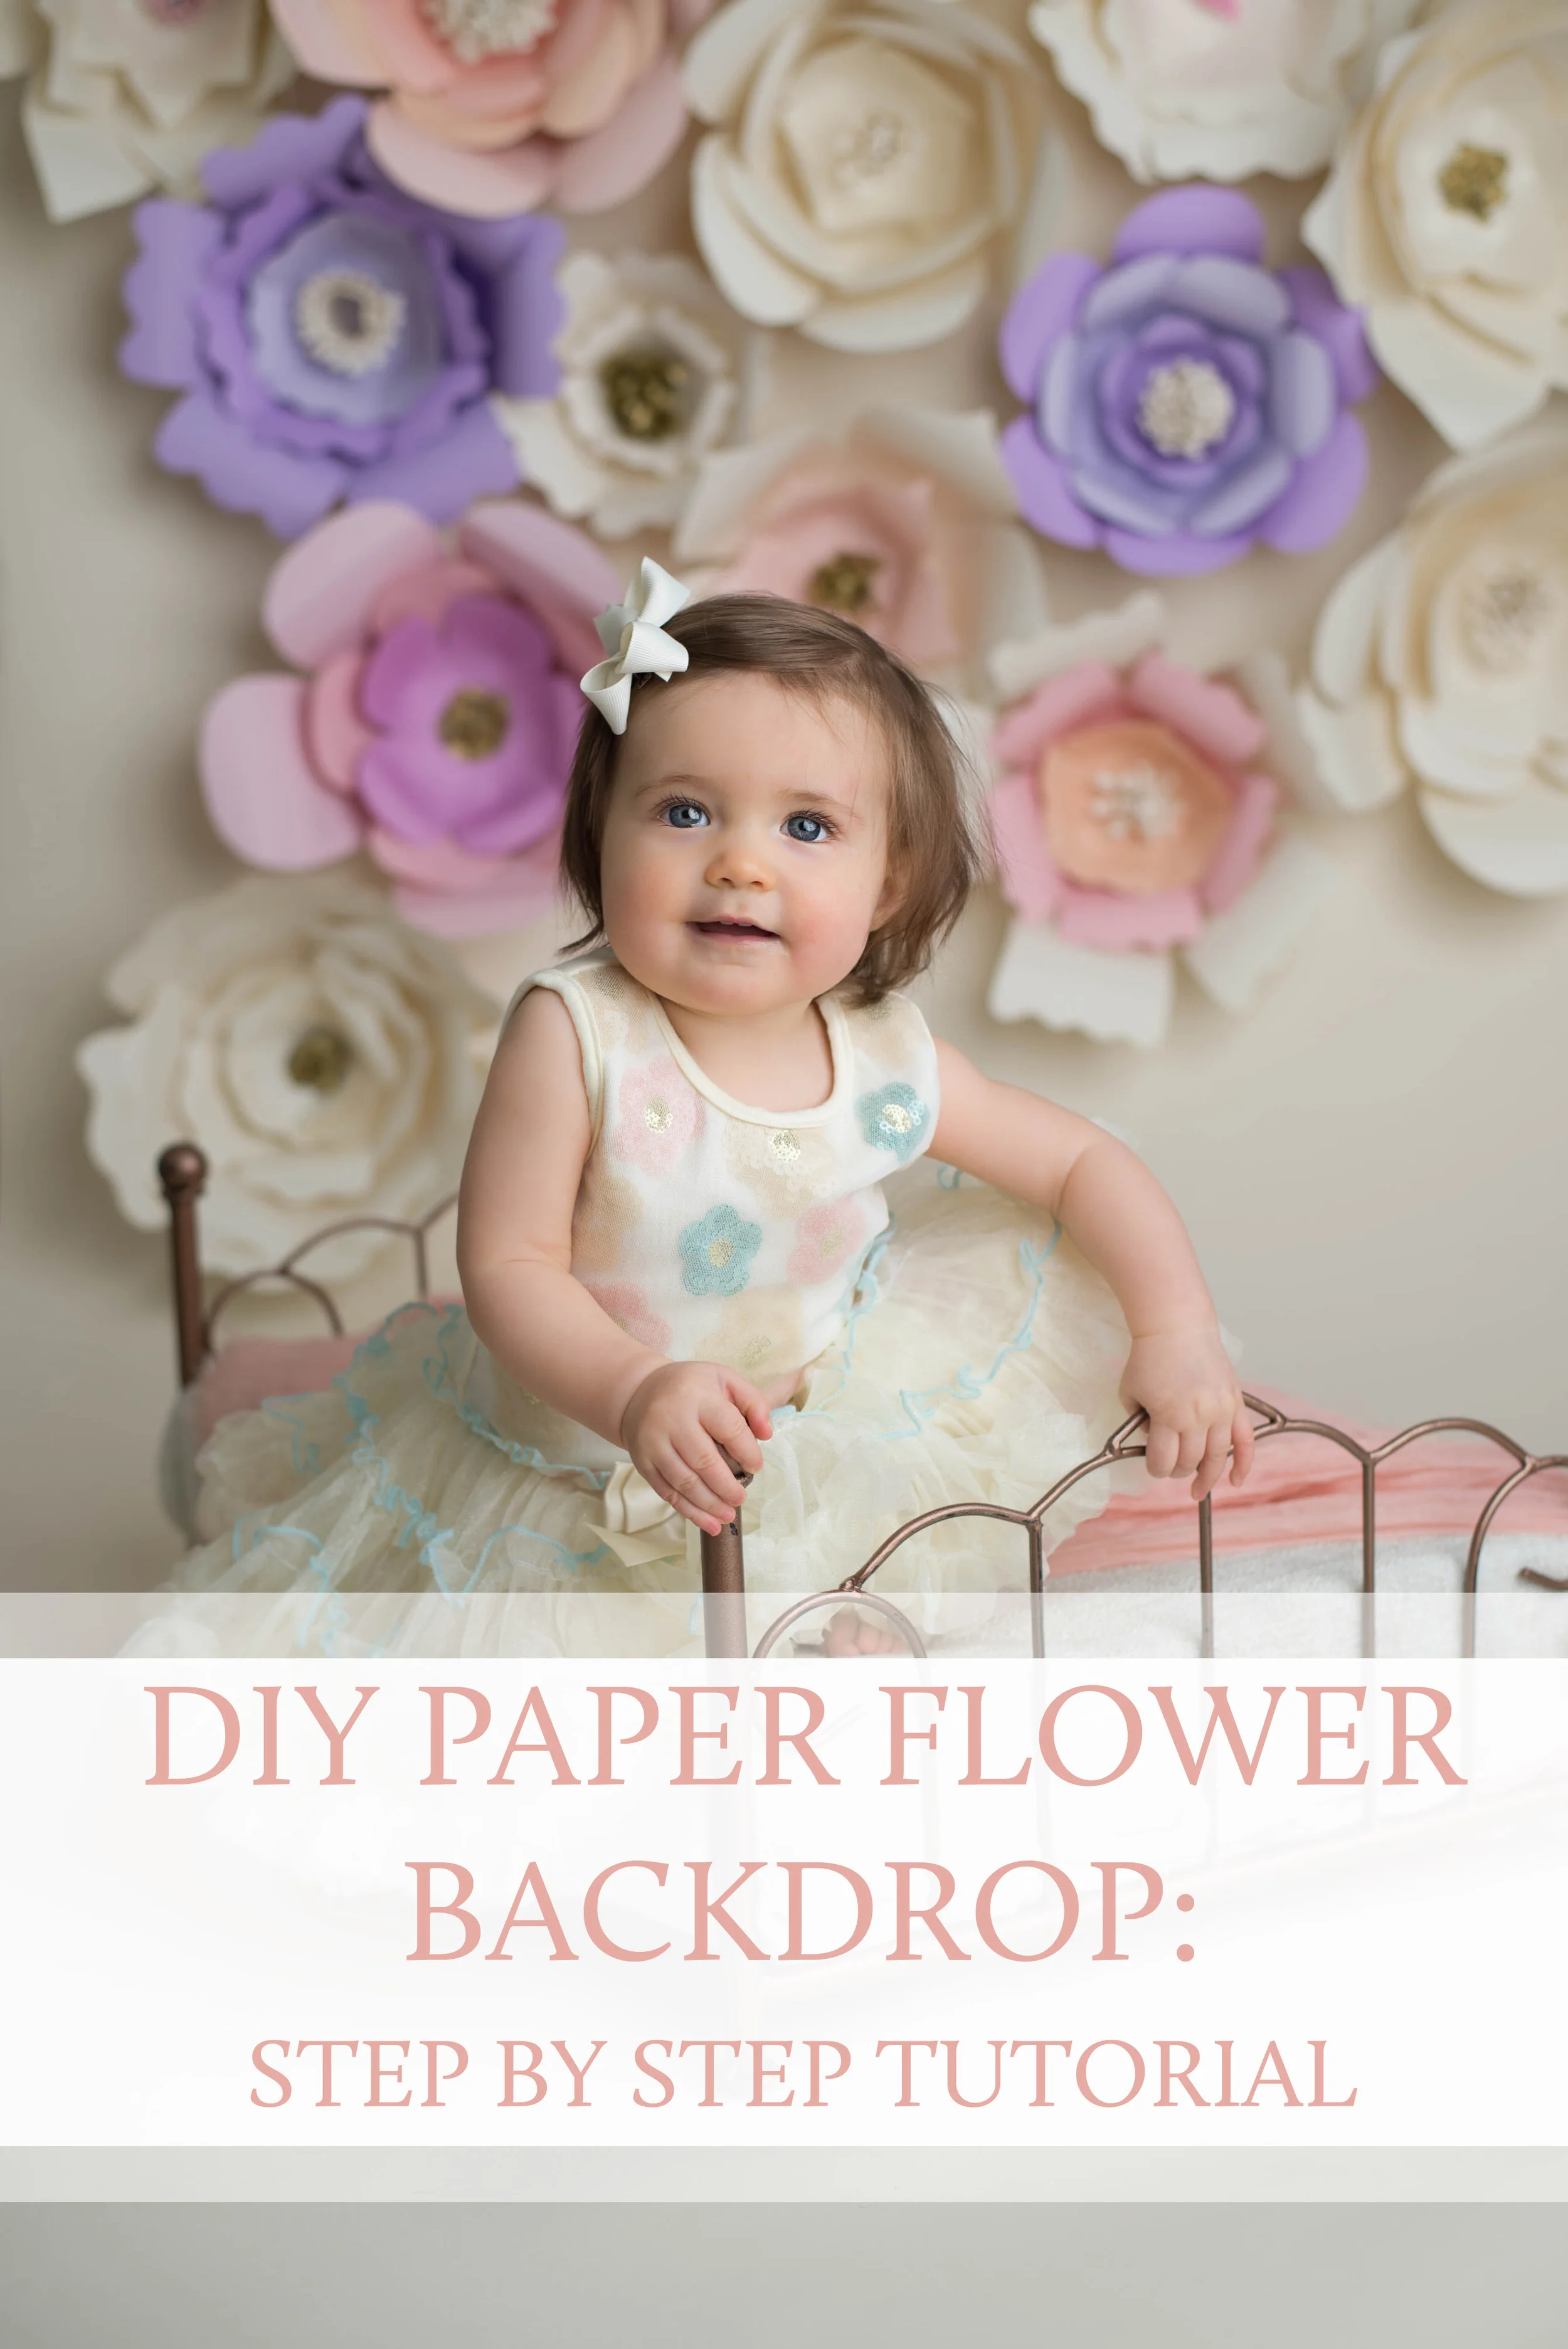
The paper flower backdrop from my springtime session with these gorgeous girls has been getting so much attention on social media that I decided to share an easy step-by-step tutorial so that you can do it yourself! Read on and get your scissors ready!
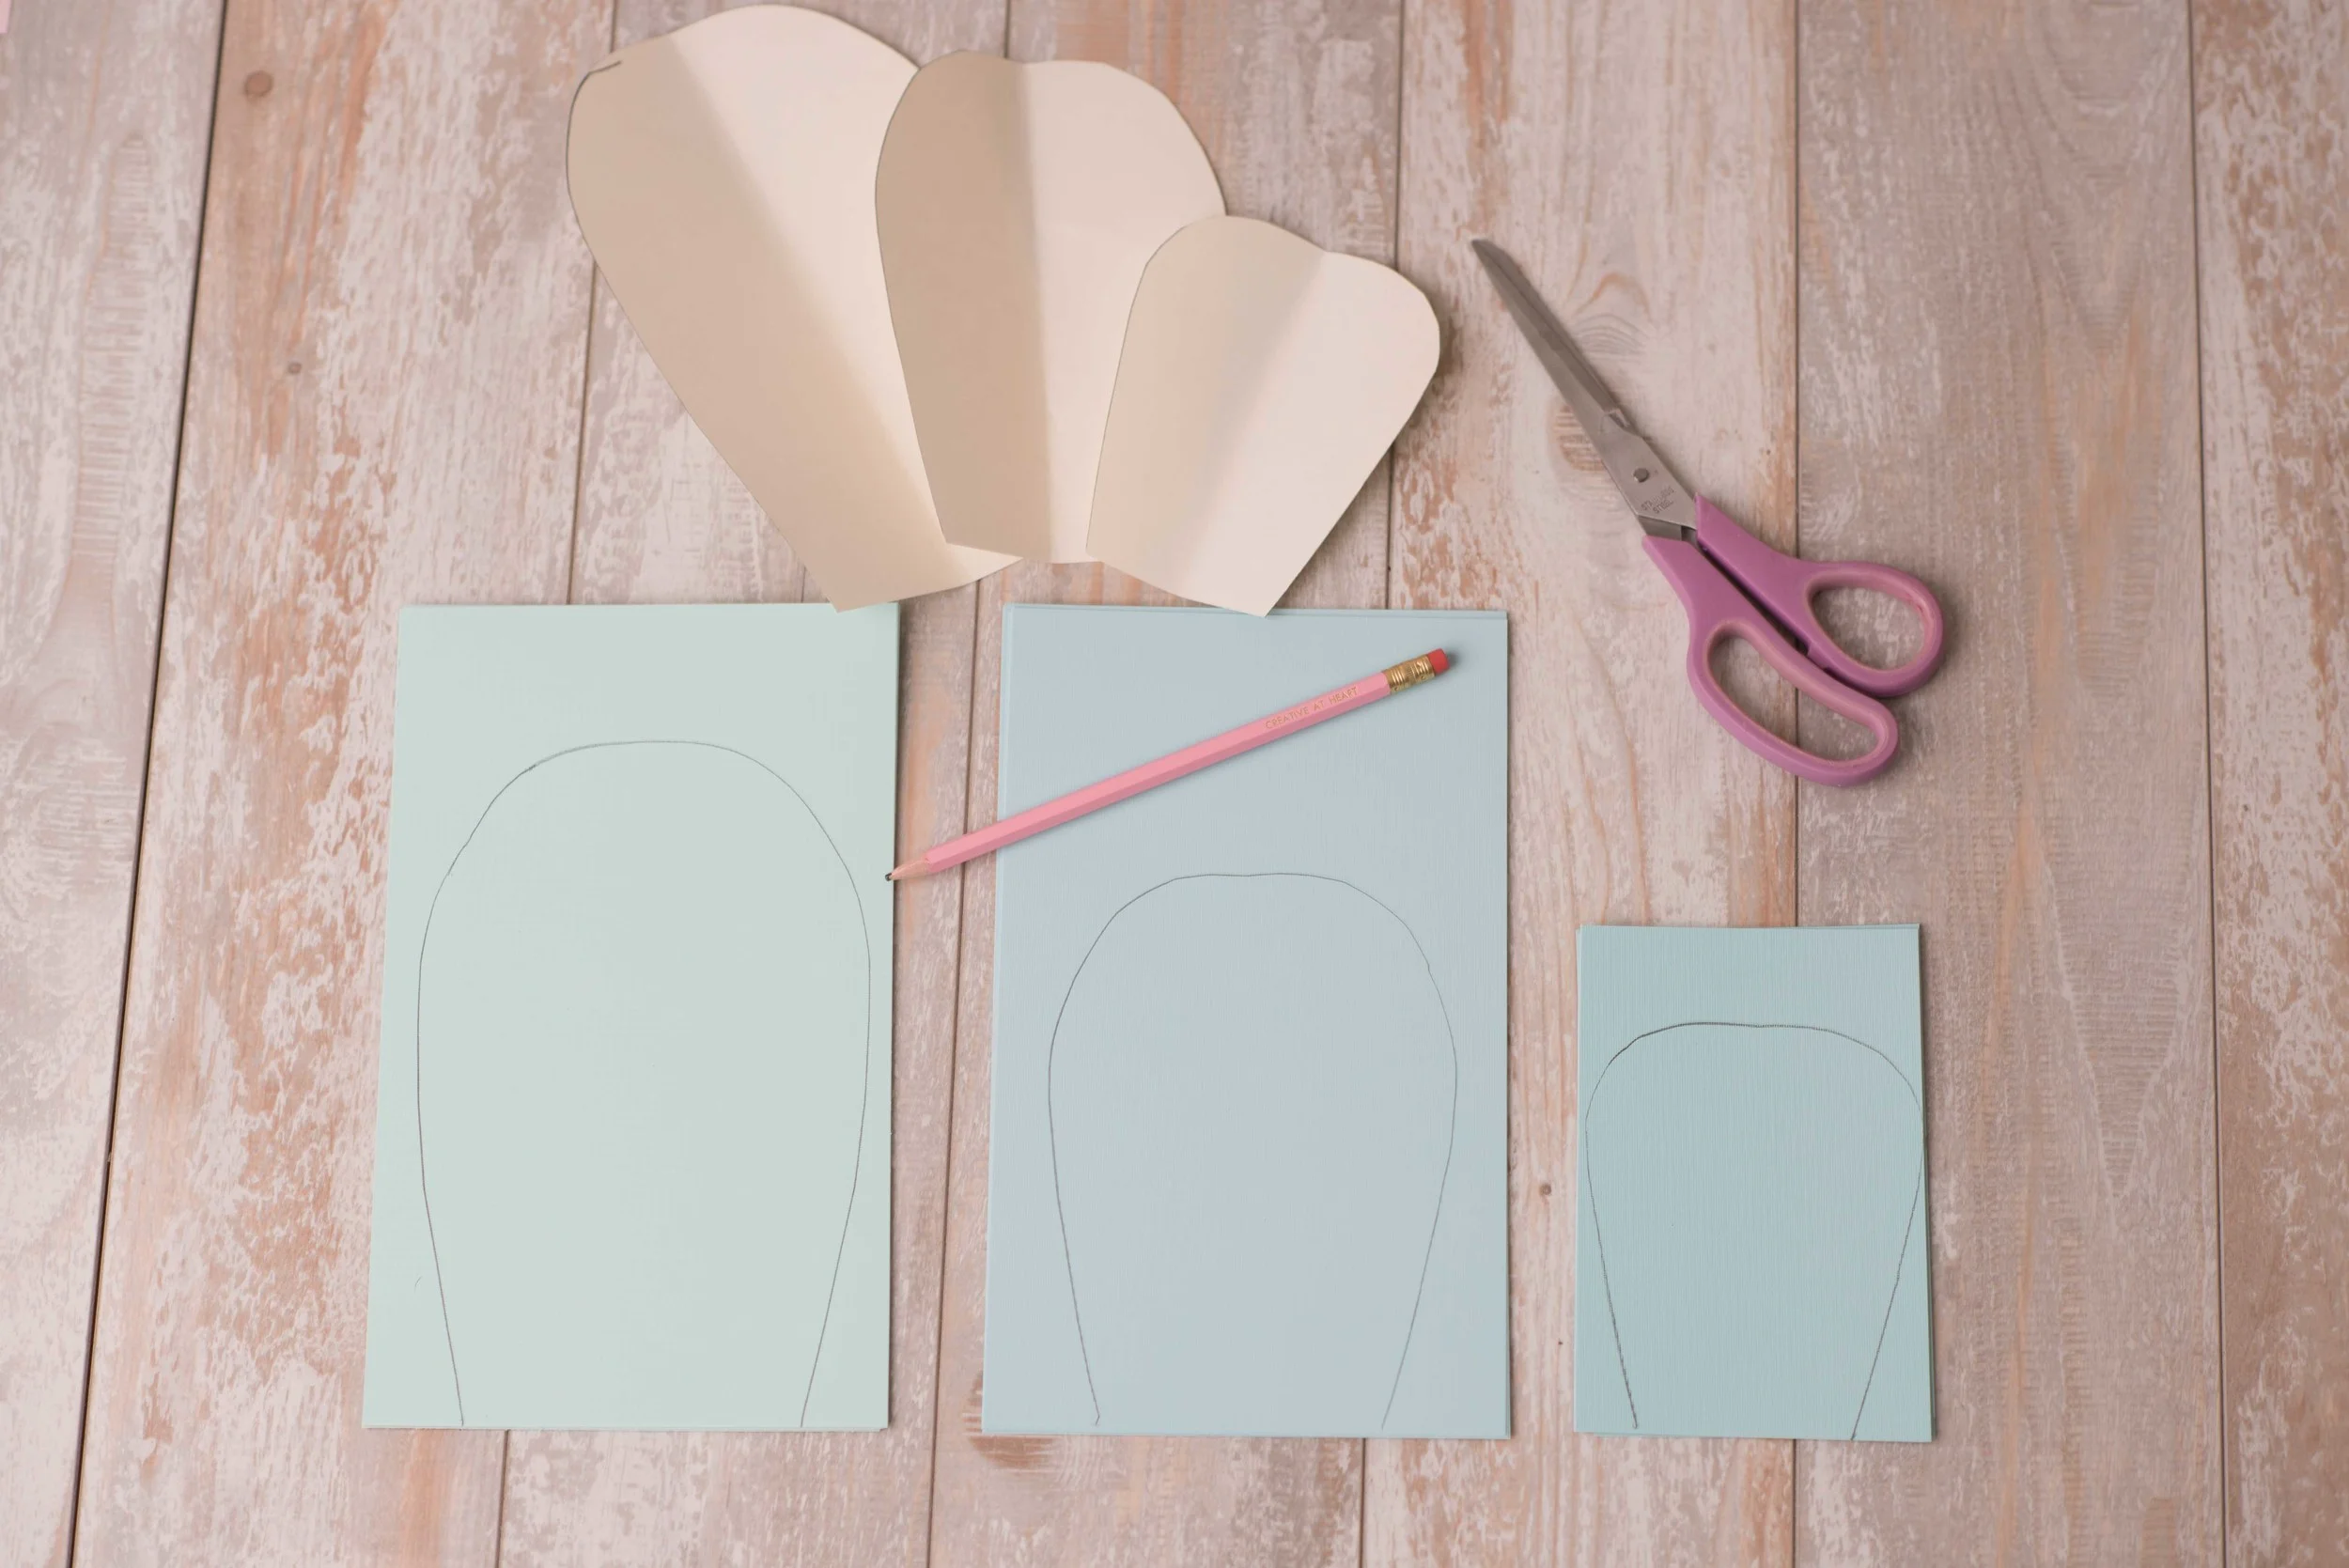
Assemble your materials before beginning: Assorted cardstock and scrapbooking paper, glue gun, extra glue sticks, pencil, and scissors.

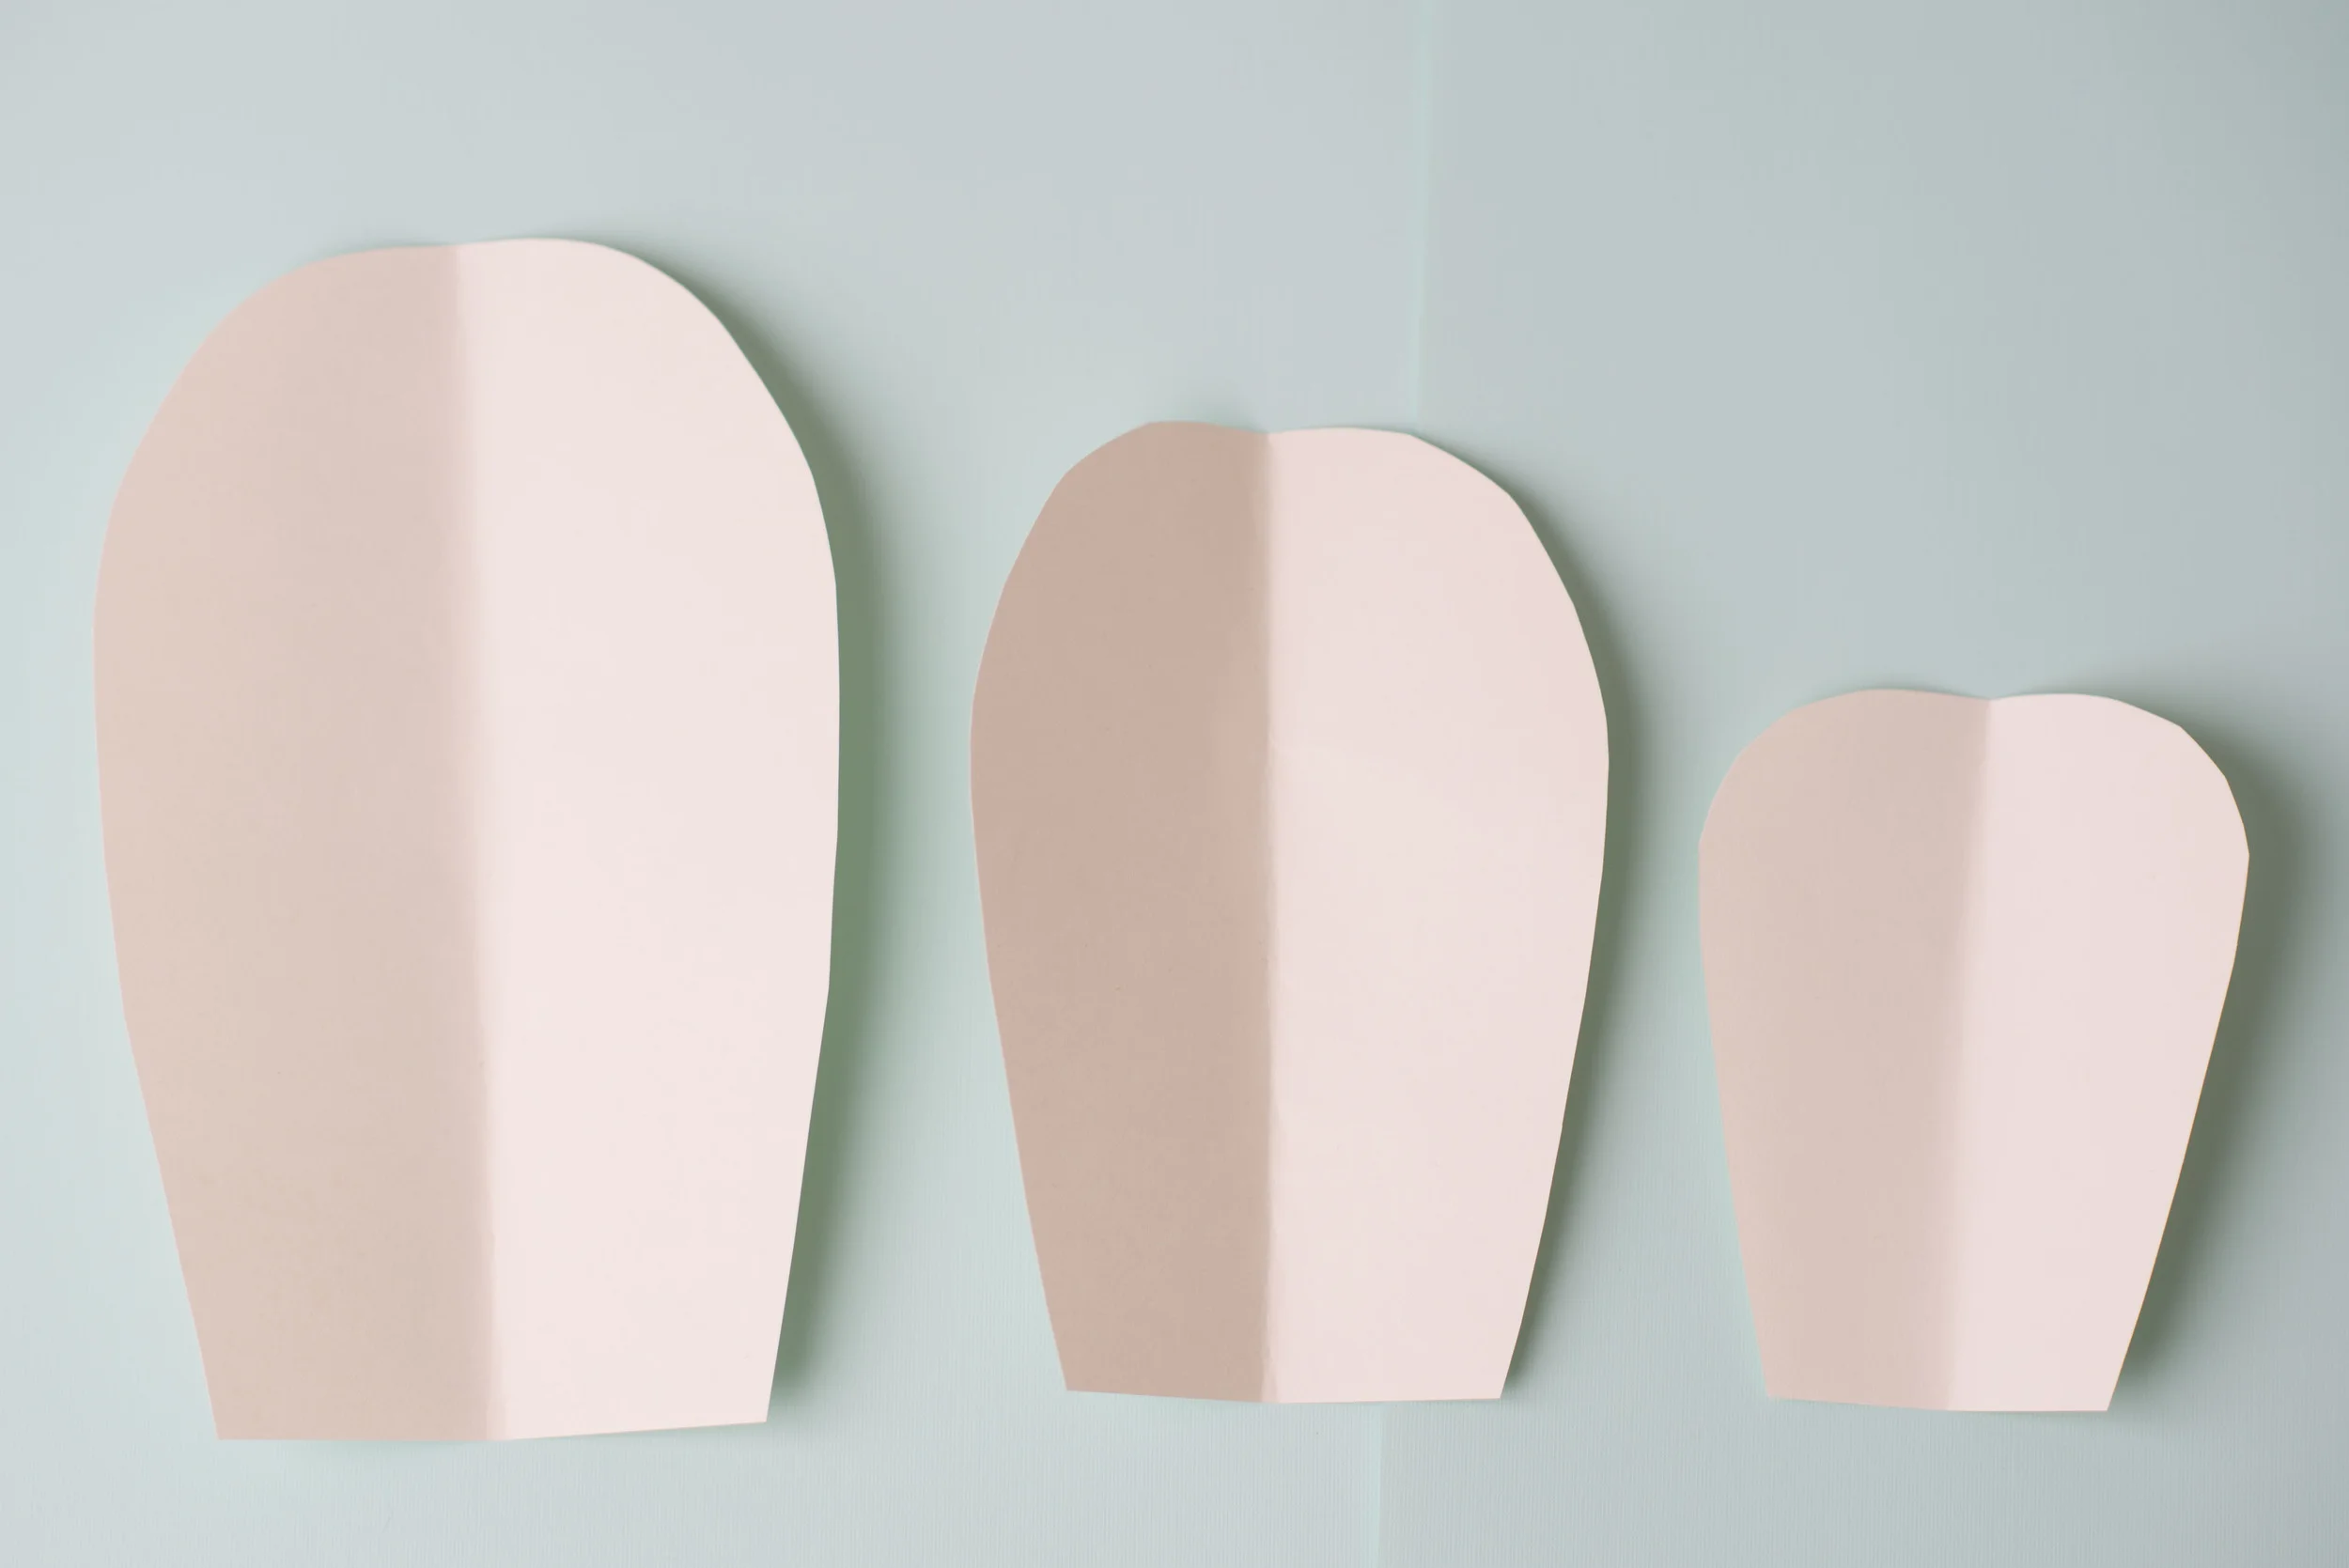
Create your petal templates -- one small, medium, and large for each style of flower. Fold your template paper in half and cut out the shape of a petal. Try different styles with rounded petals, pointed petals, and ruffled petals.
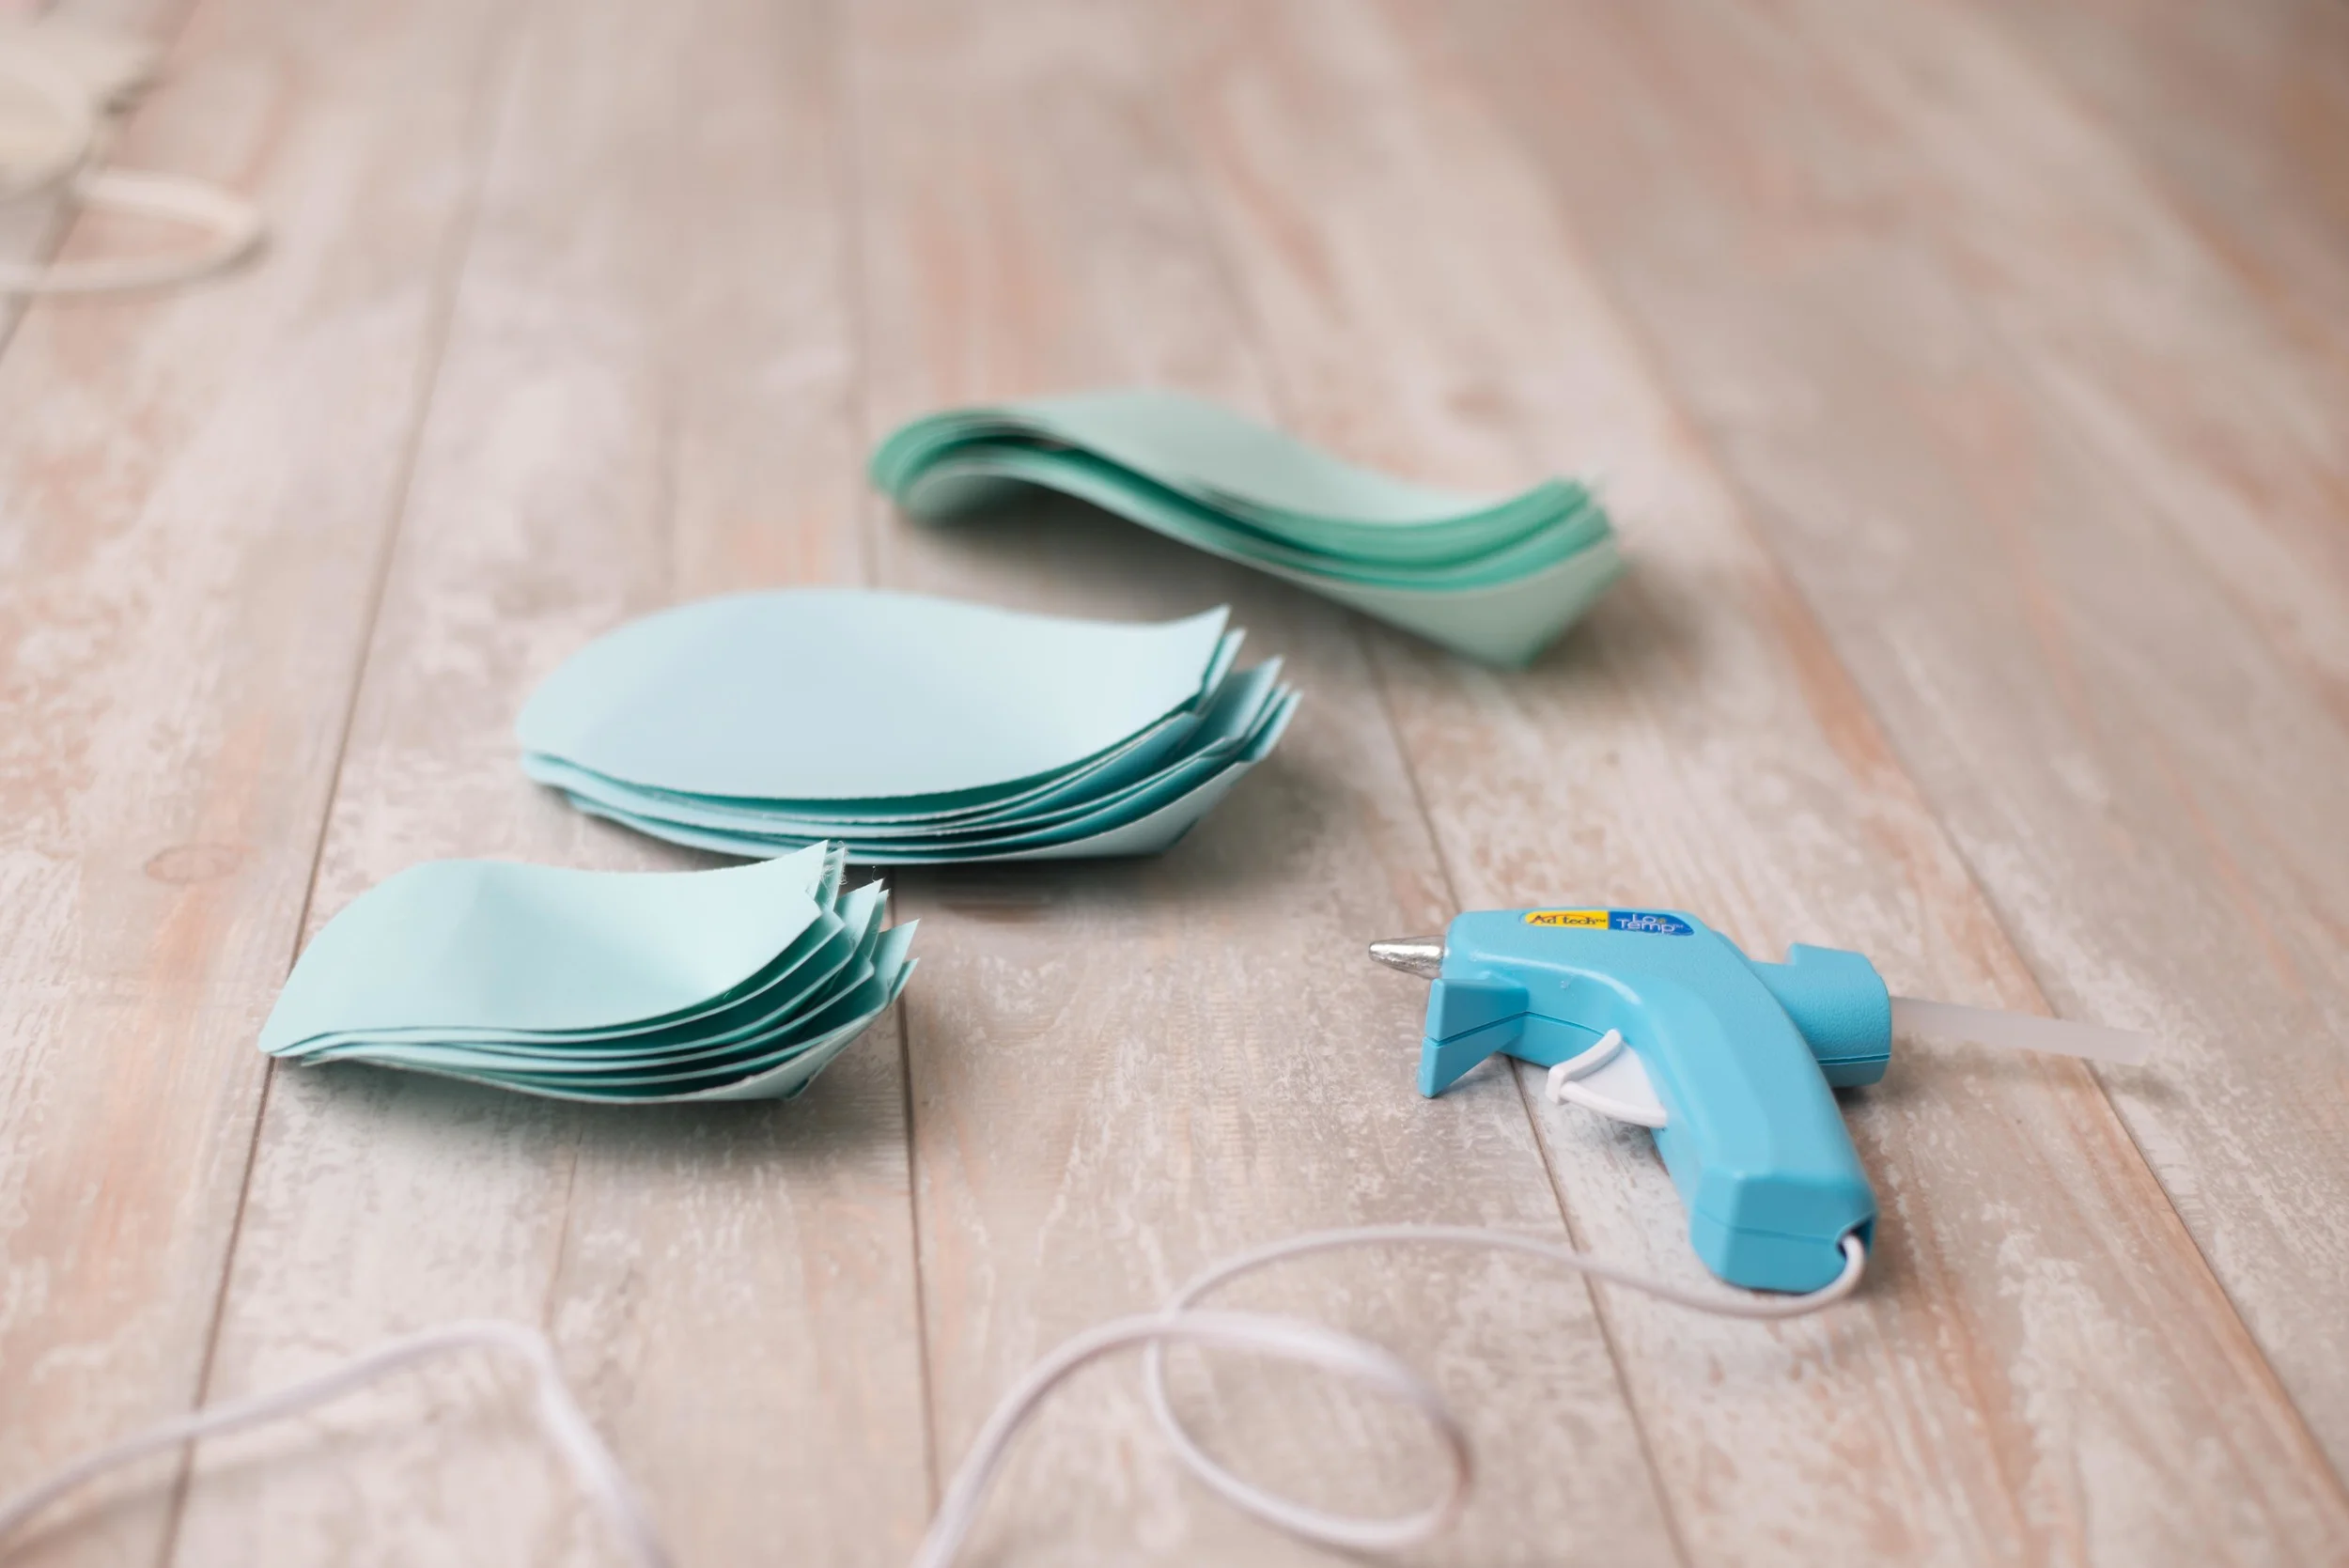
You will need 9 sheets of 8.5x11" paper for each flower. I like to use all one color for the entire flower, or mix a few shades of the same color for one flower. You will first cut 6 sheets of paper in half -- these will be the large and medium petals. Then cut 3 sheets of paper in quarters (cut it in half, and then in half again) -- these will be the small petals.
You will need 6 large petals, 6 medium petals, and 6 small petals. Trace your petal template on the colored paper, and cut them out.
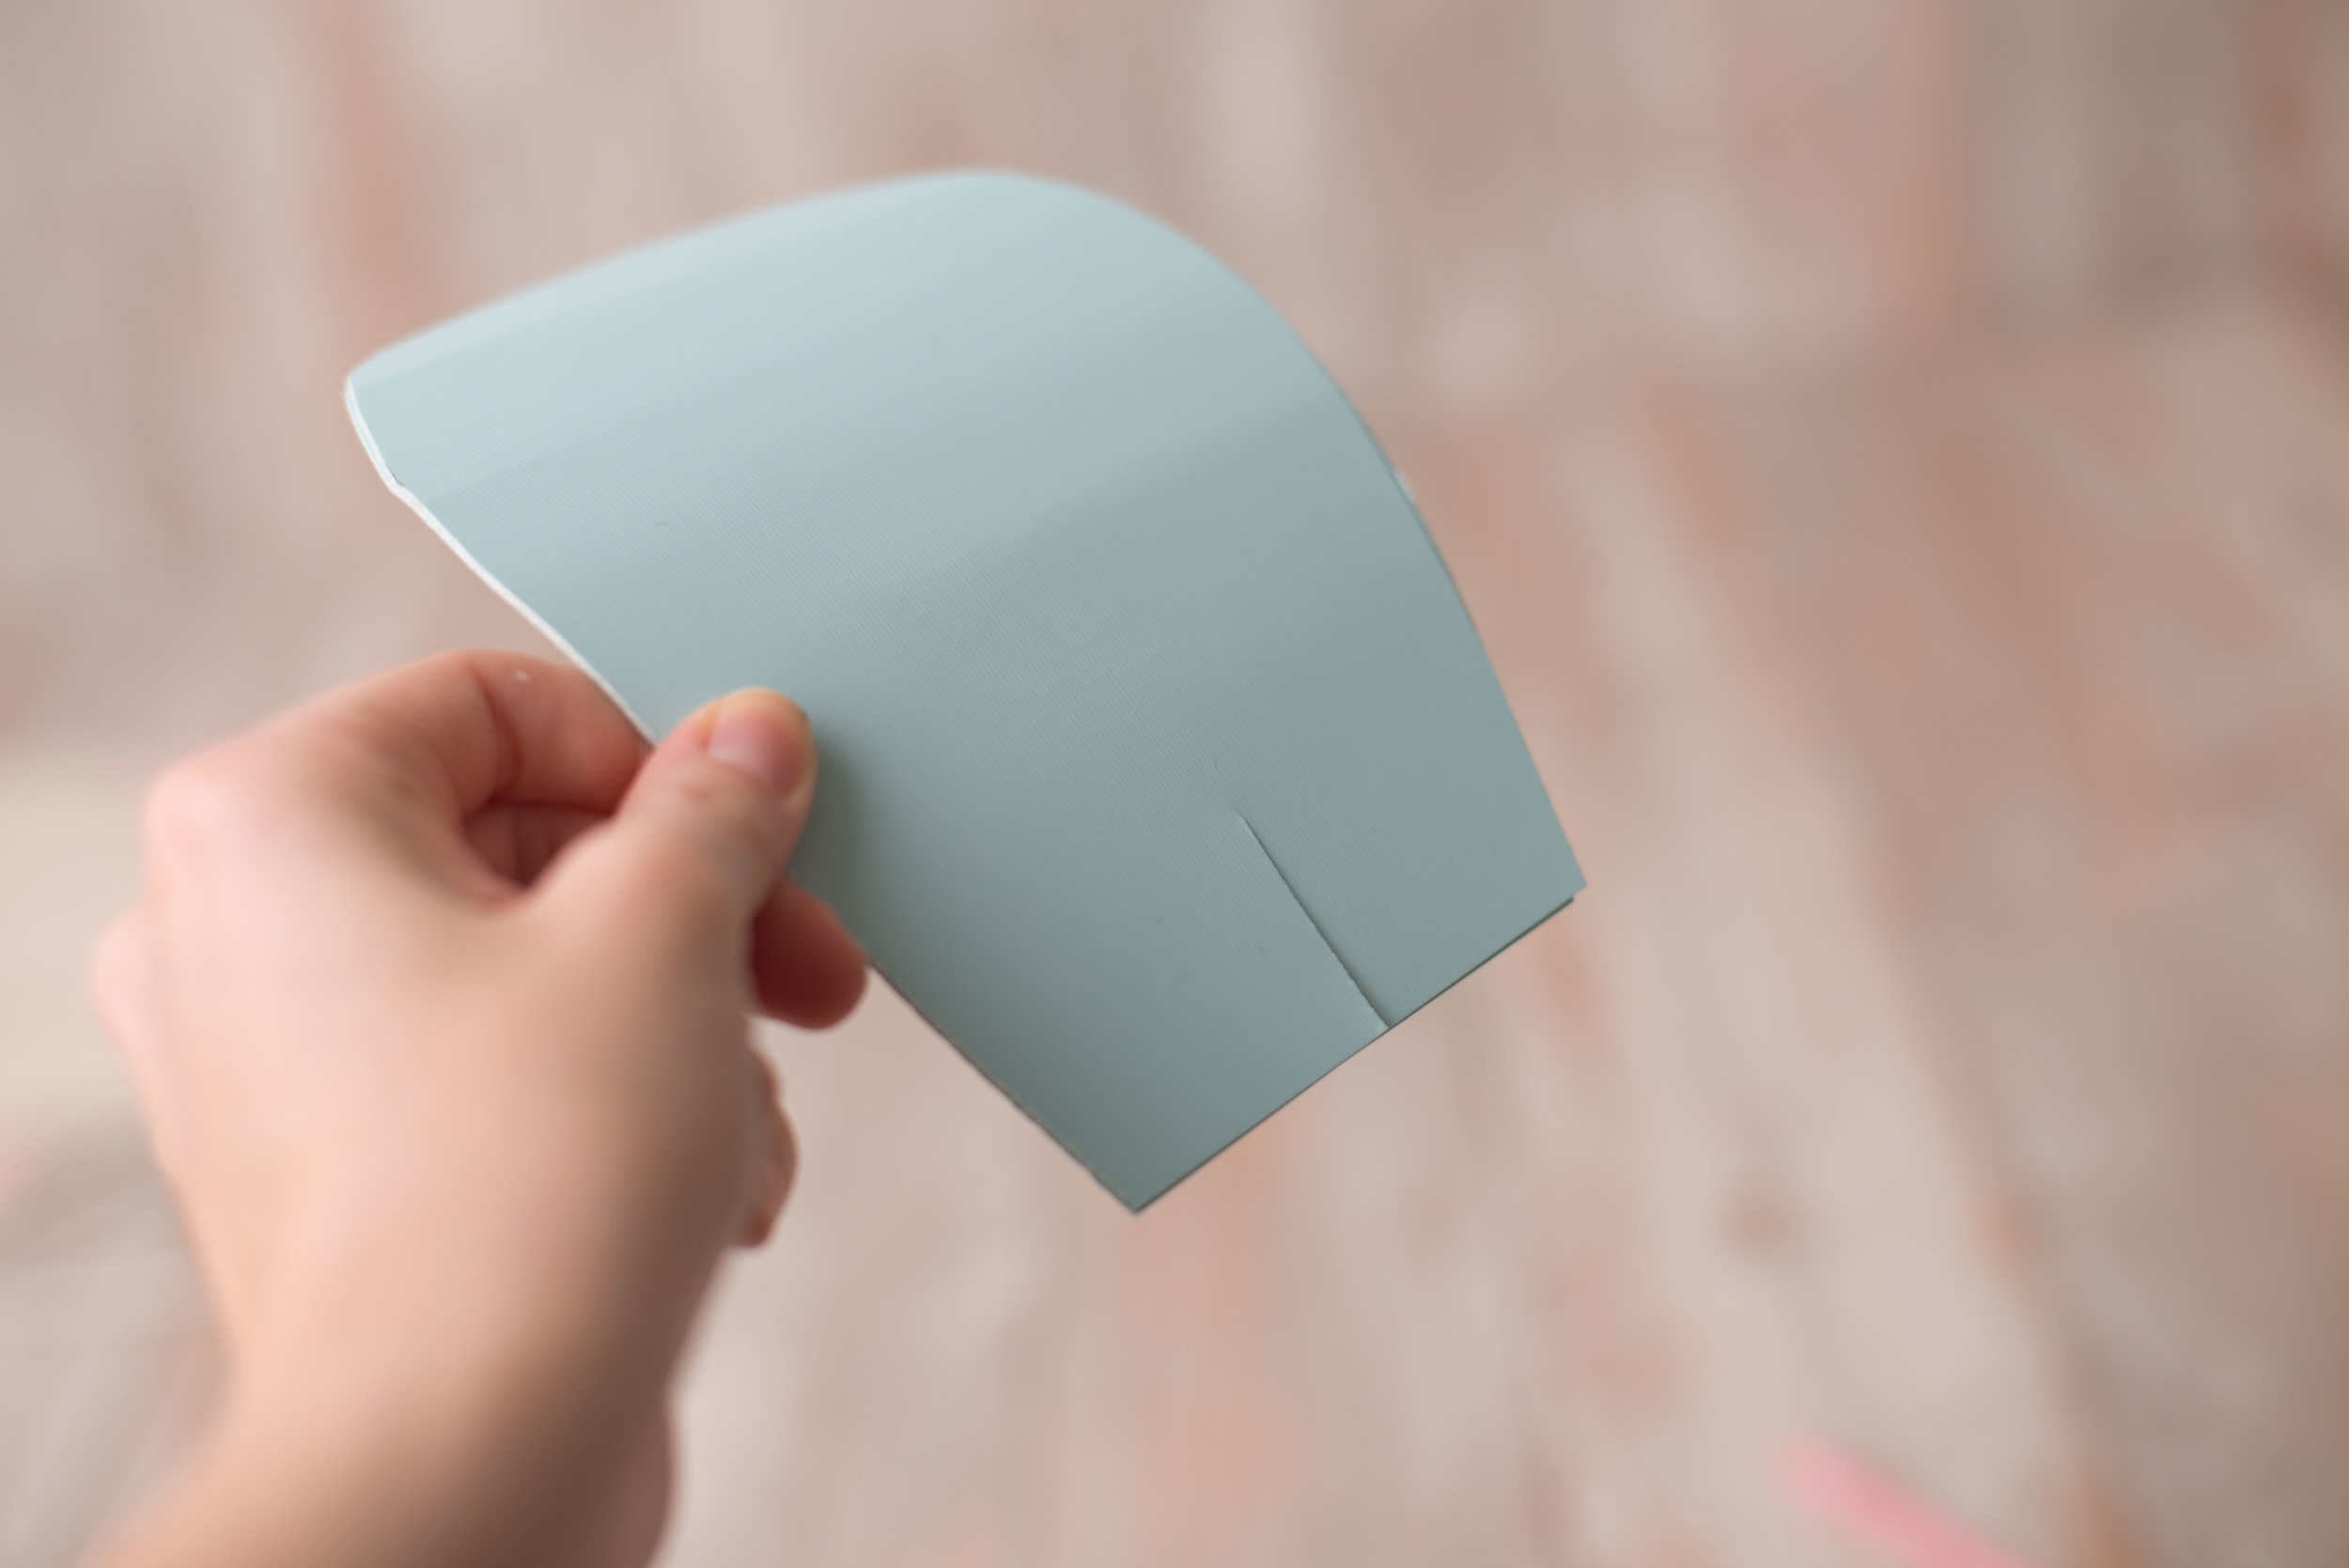
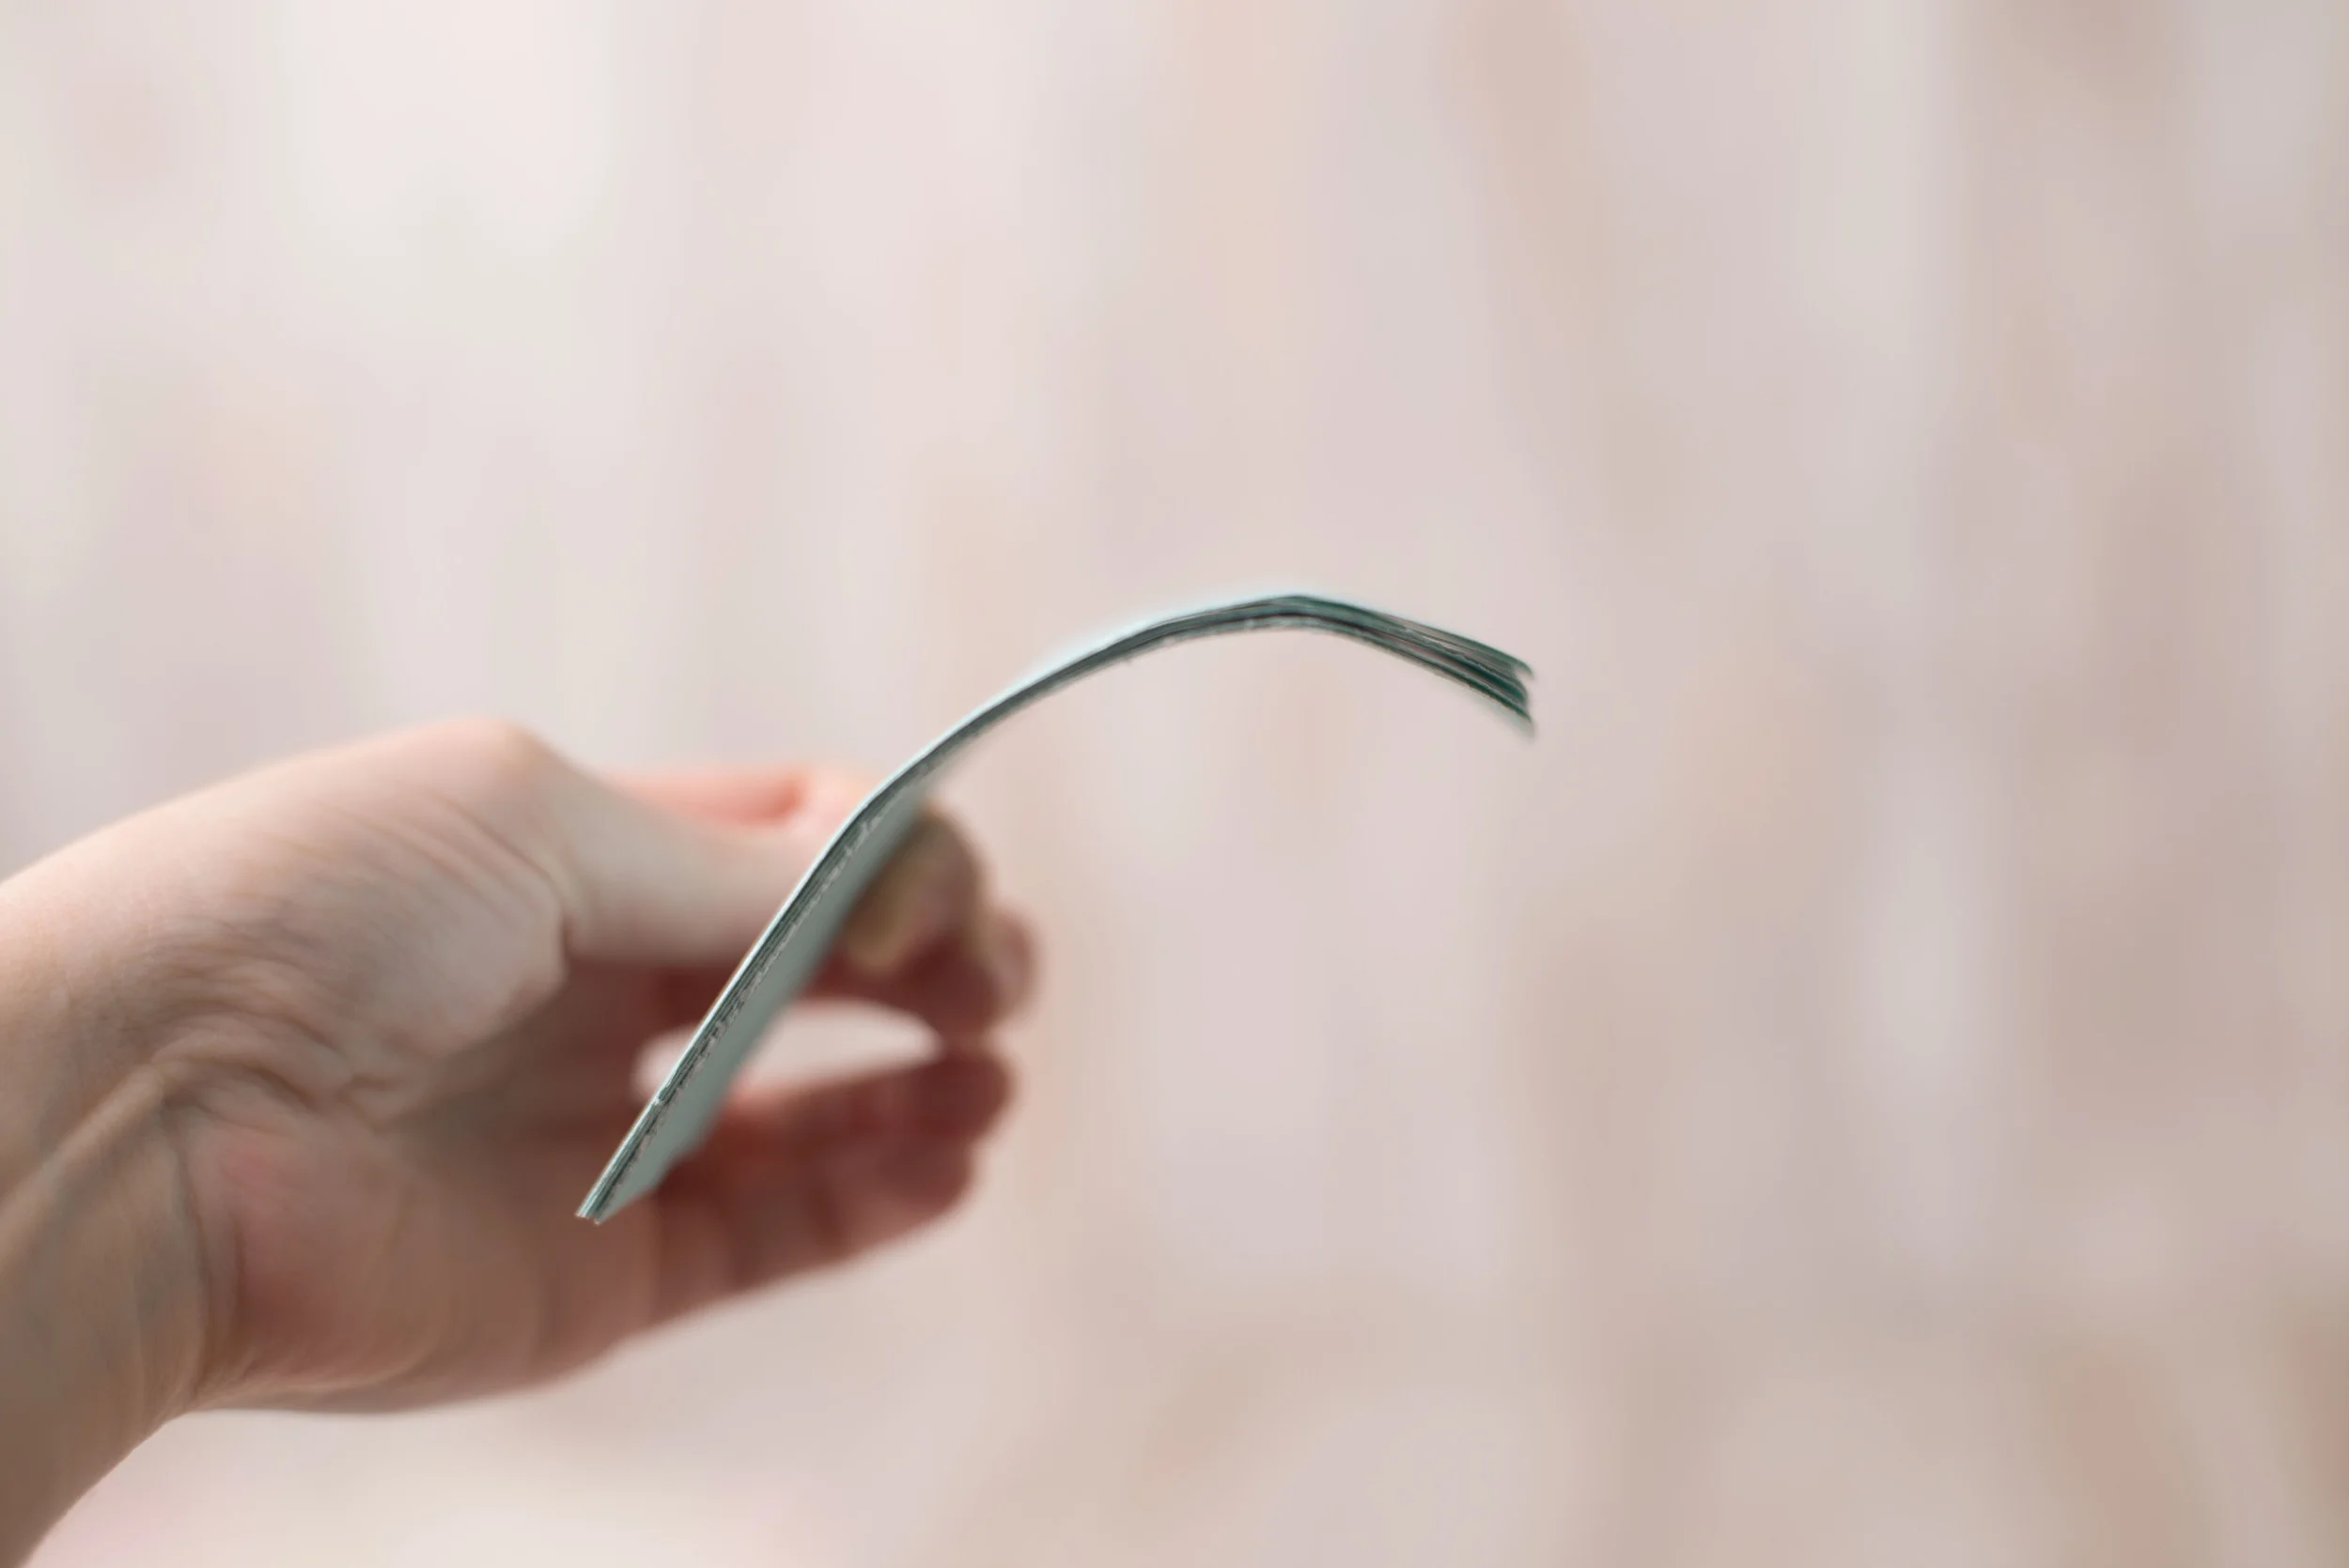
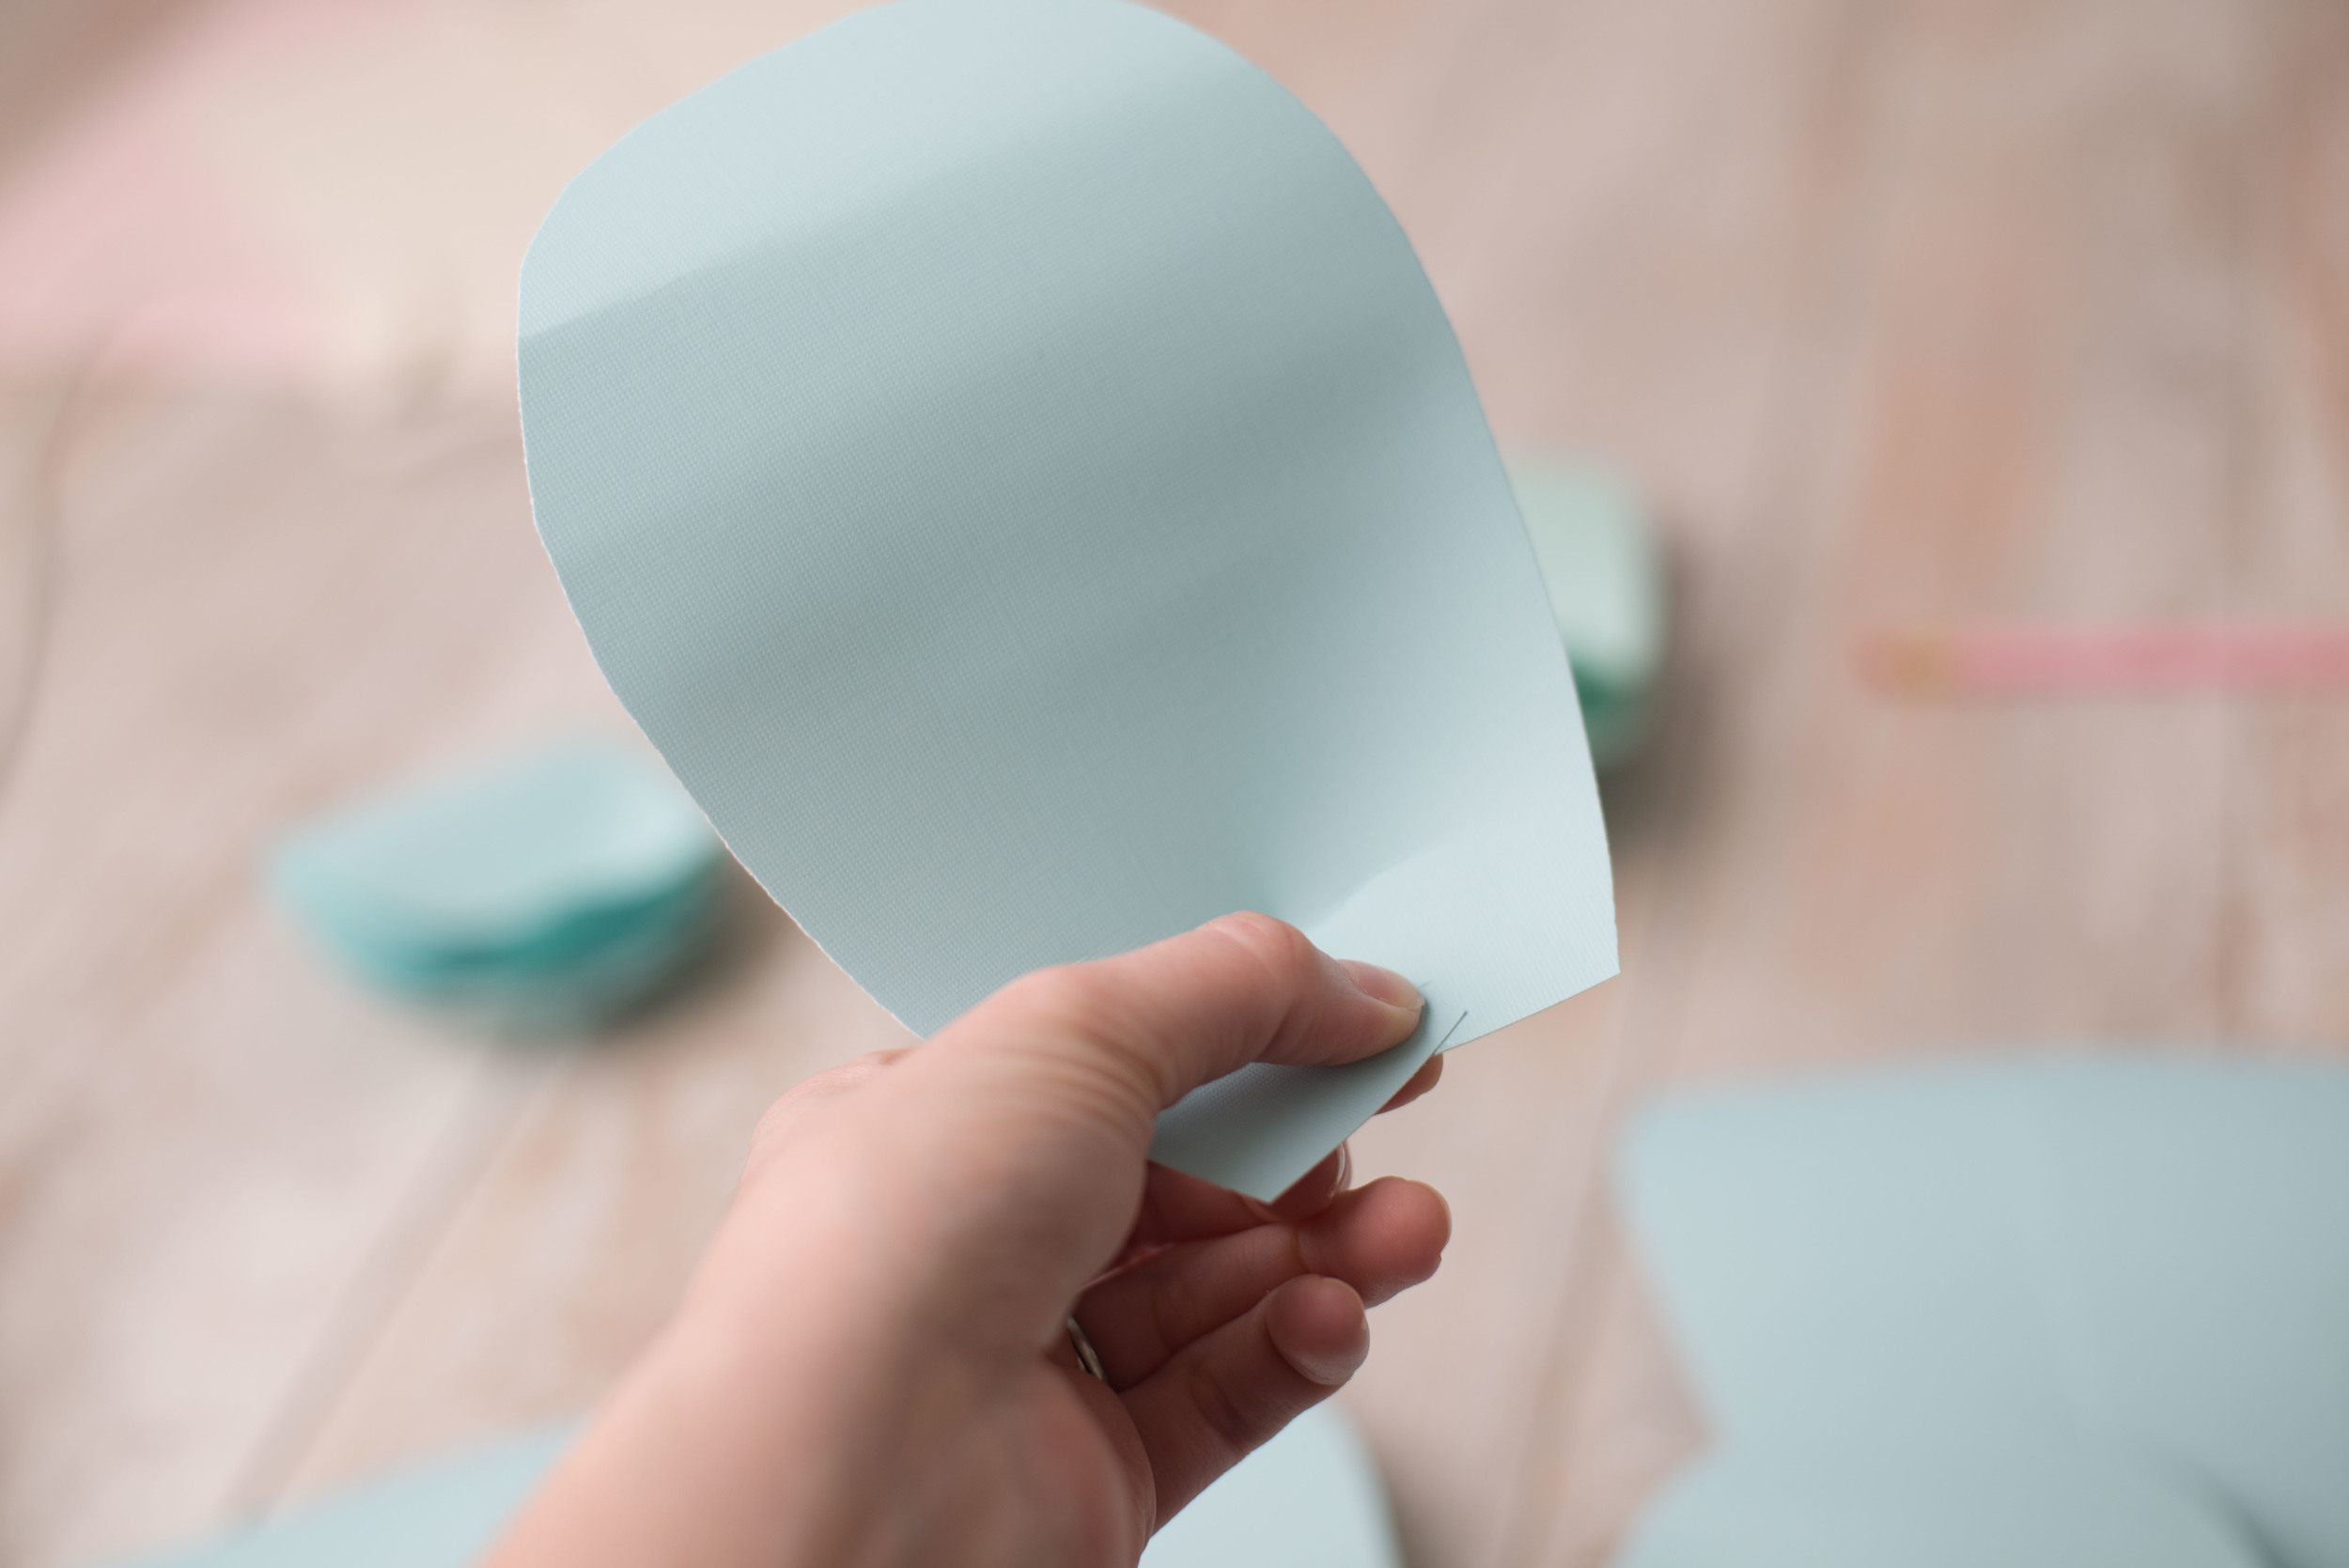
After cutting out the petals, cut a 1" slice in the bottom center of each petal. Then curl the tops of the petals around your finger to give them more of a textured and 3-D look.
Put a dot of glue near the cut that you just made in each petal. Fold one side over the other and your petal will take on a curved and 3-D look. Do this to all of your flower petals.
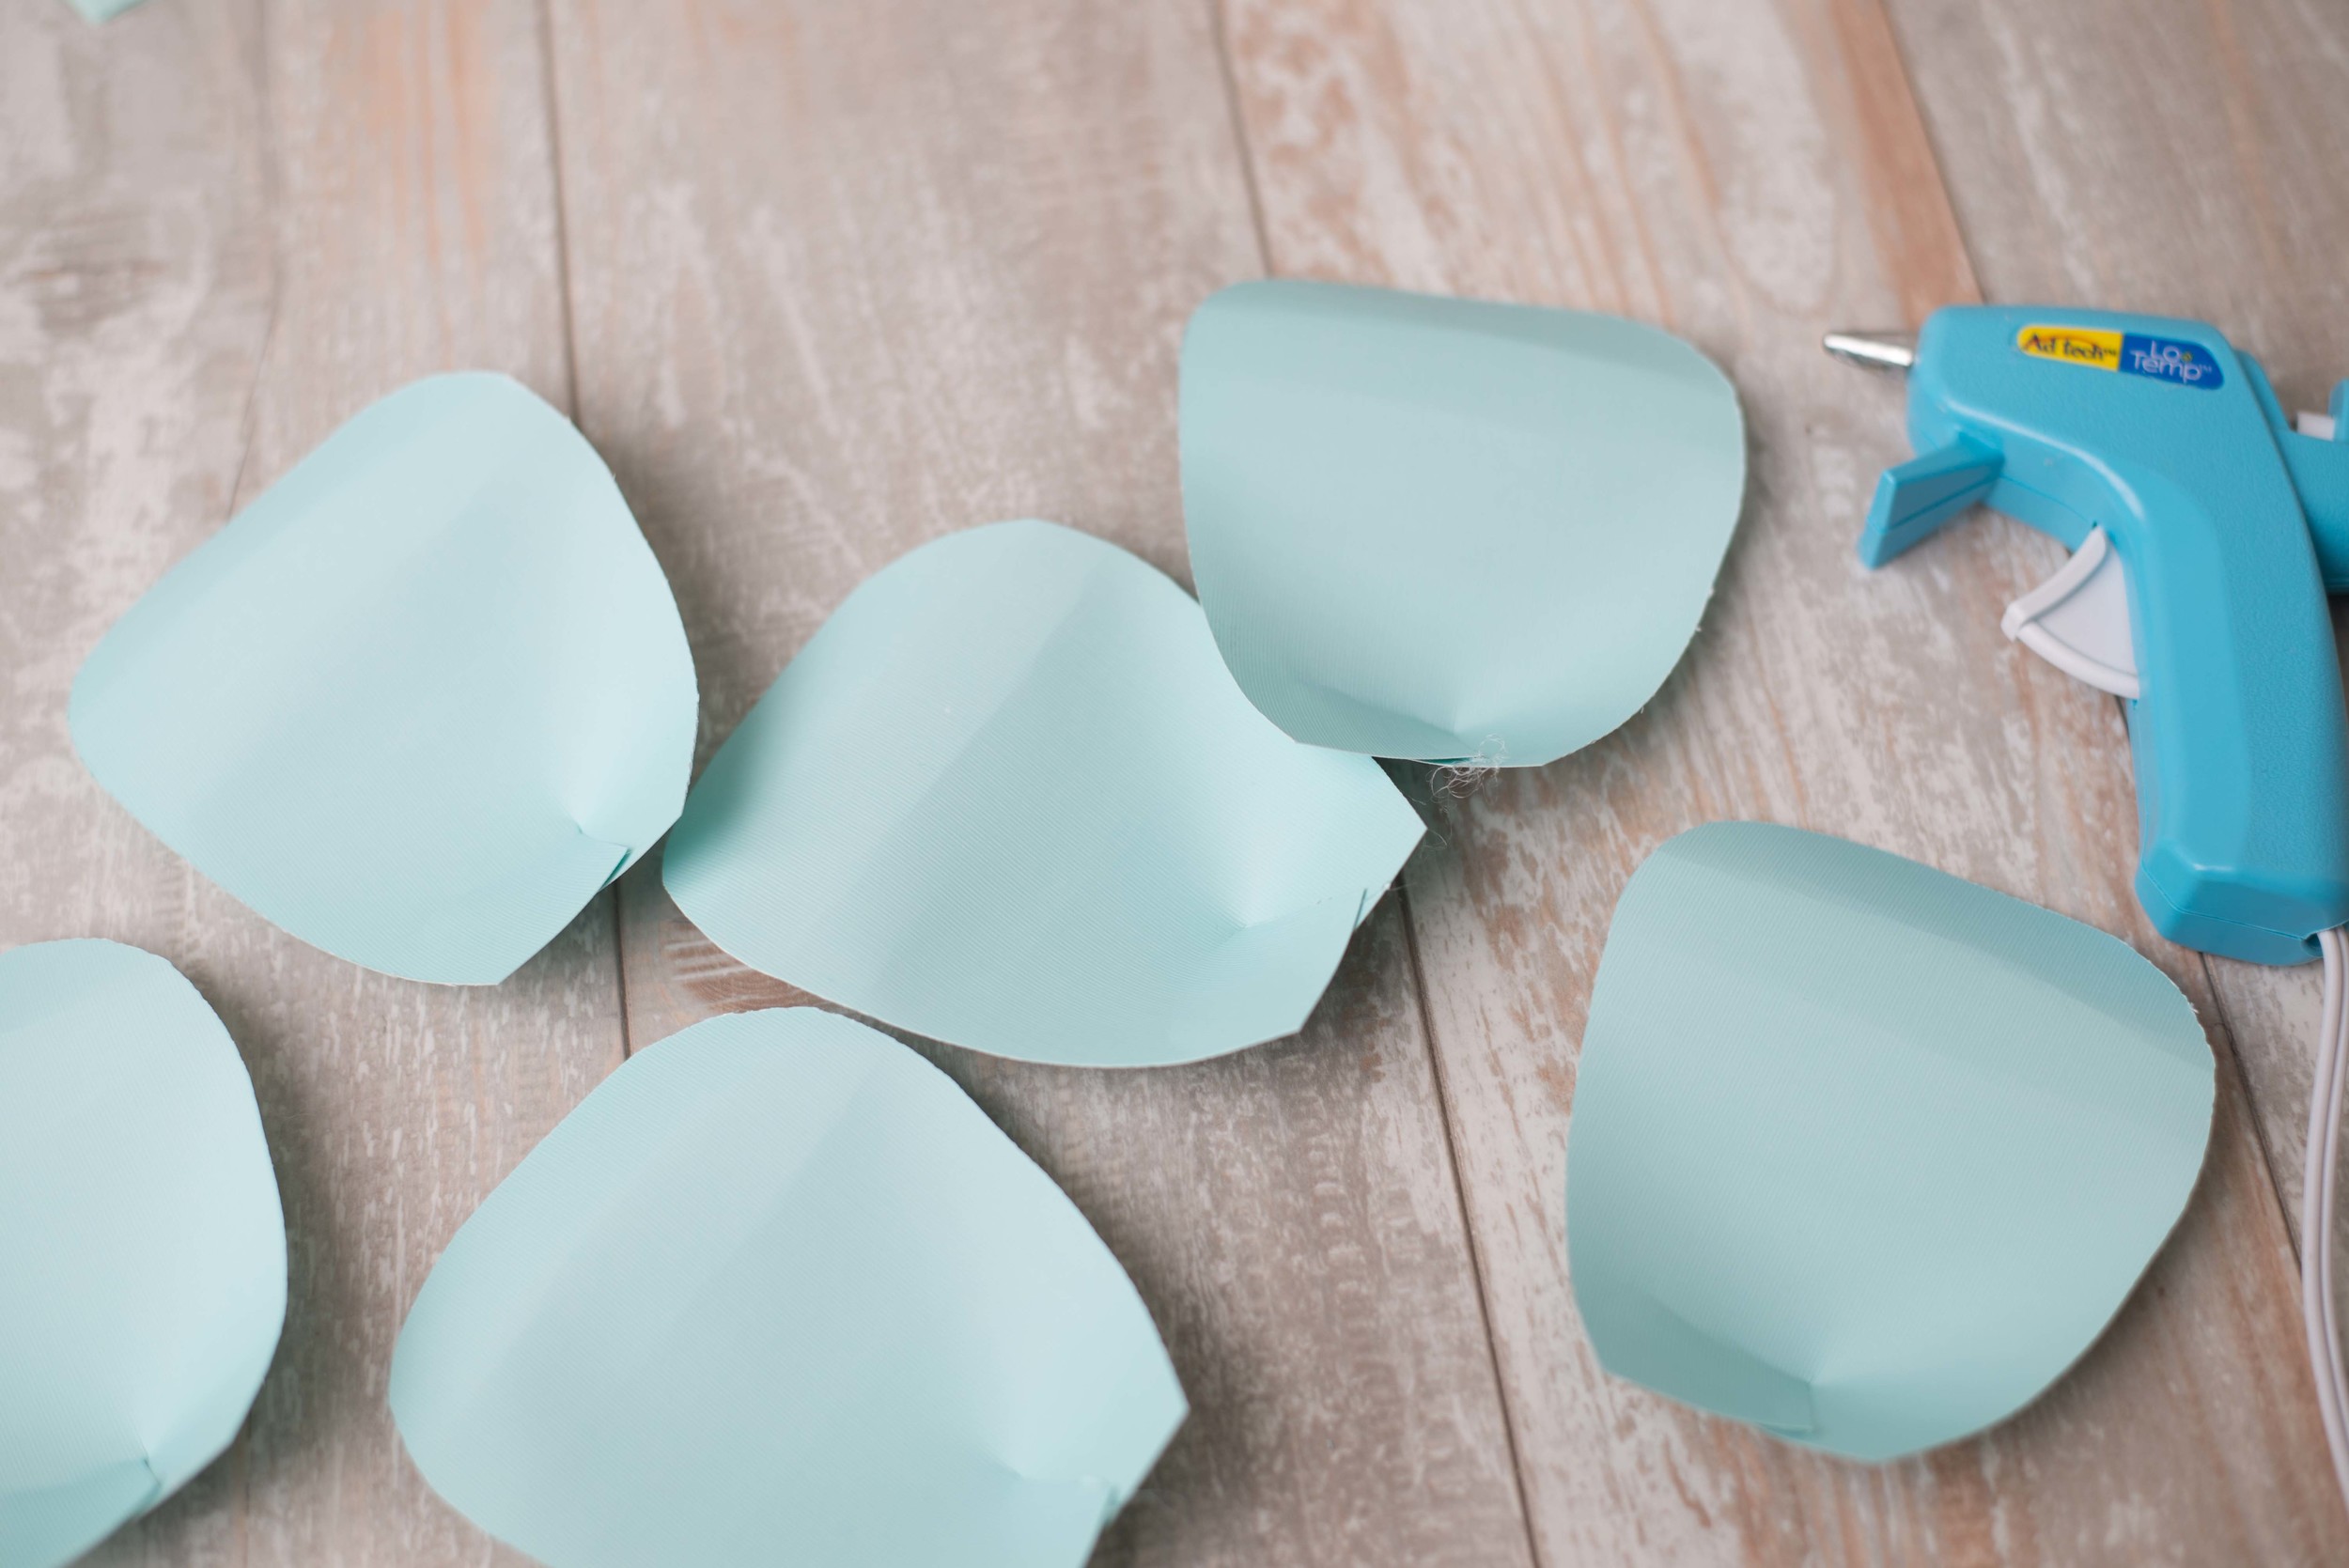
After gluing the bottom of all of your petals to give them that 3-D pop, this is what they should look like.
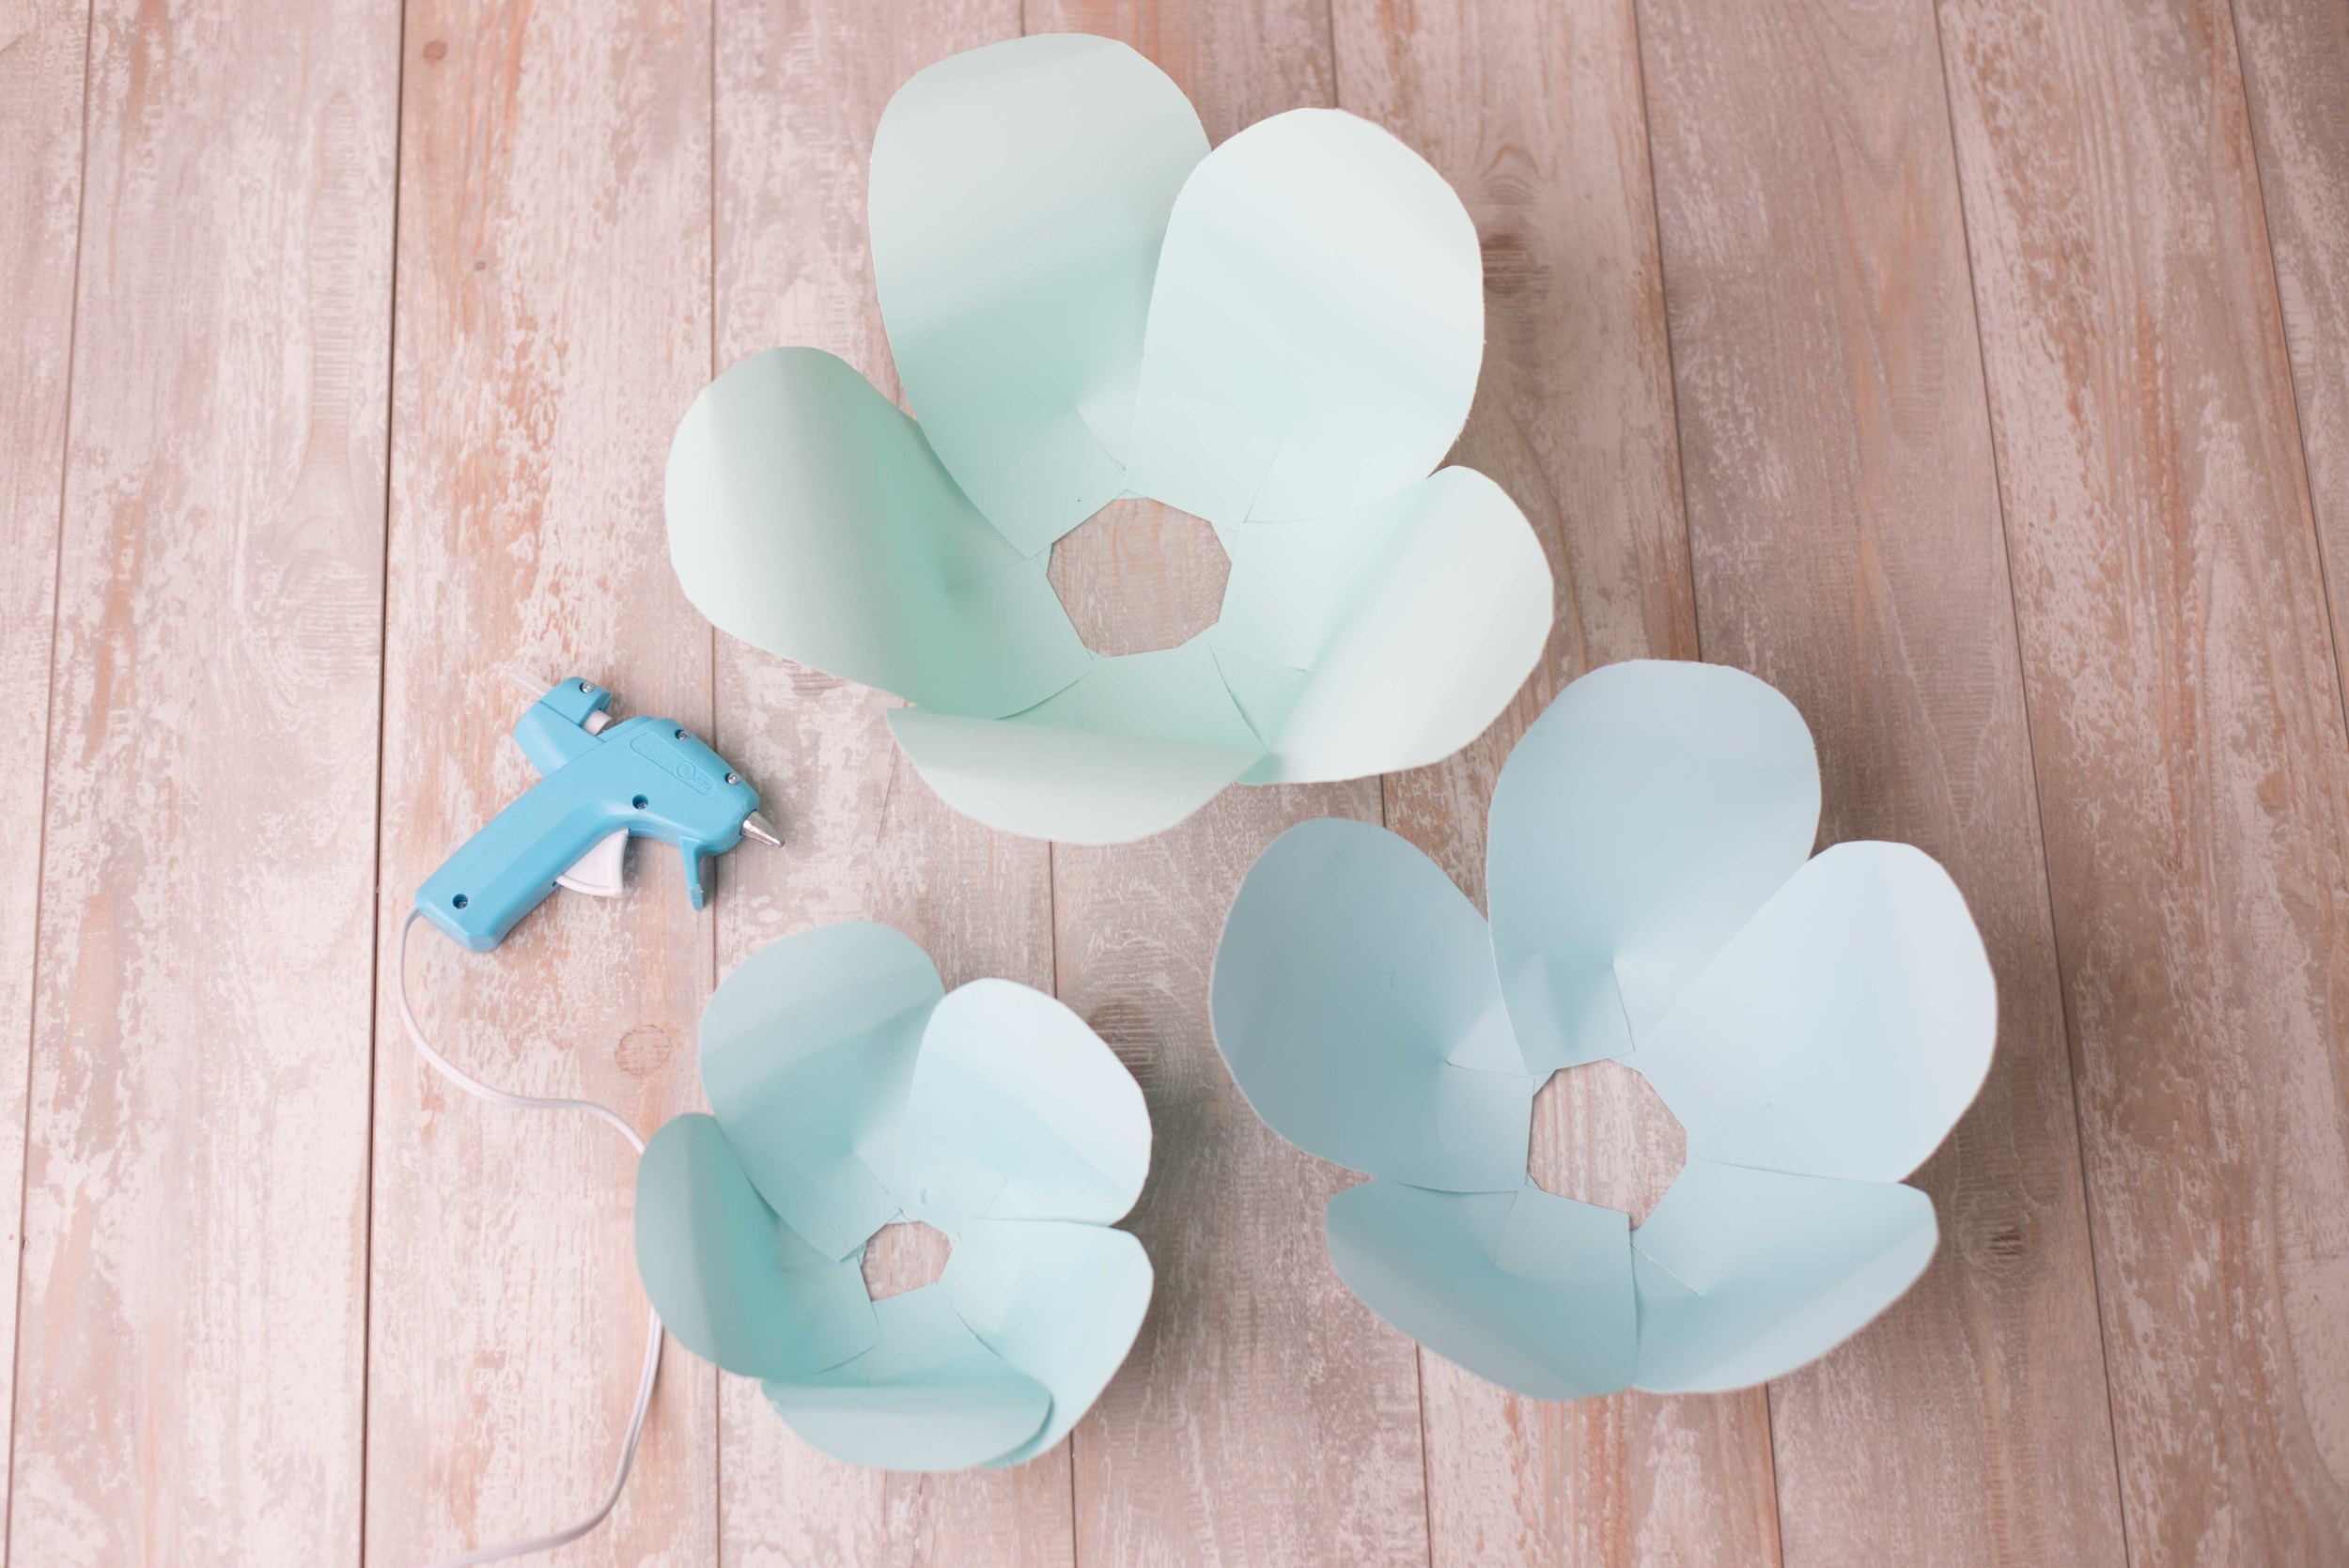
Next you want to assemble each tier of petals separately -- small, medium, and large. To do this, put a dot of glue at the bottom corner of one petal, and overlap the next petal on top. Do this so that all 6 petals will fit together and form a closed circle shape.
Insider tip: Depending on how you space the petals when attaching them together, sometimes you will only fit 5 petals in the ring of petals that you've created. Keep your extras, and you may find a use for them in a different flower later on!

Once you've glued all of your petals together, they should look like this!
Next you will want to stack them inside of each other and glue the three tiers of petals together. I recommend tracing a circle of glue around the base of the large petals, and then pressing the medium ones on top. Then do the same by putting the smallest petals into the medium petals so that all three tiers are now attached.
Now we are going to create the center of your flower! There are so many options for this, so I encourage you to have fun with different materials and colors to create a garden full of unique flowers. You can use cardstock like in the sample below, and you can also cut & crumple tissue paper for unique flower centers as well.
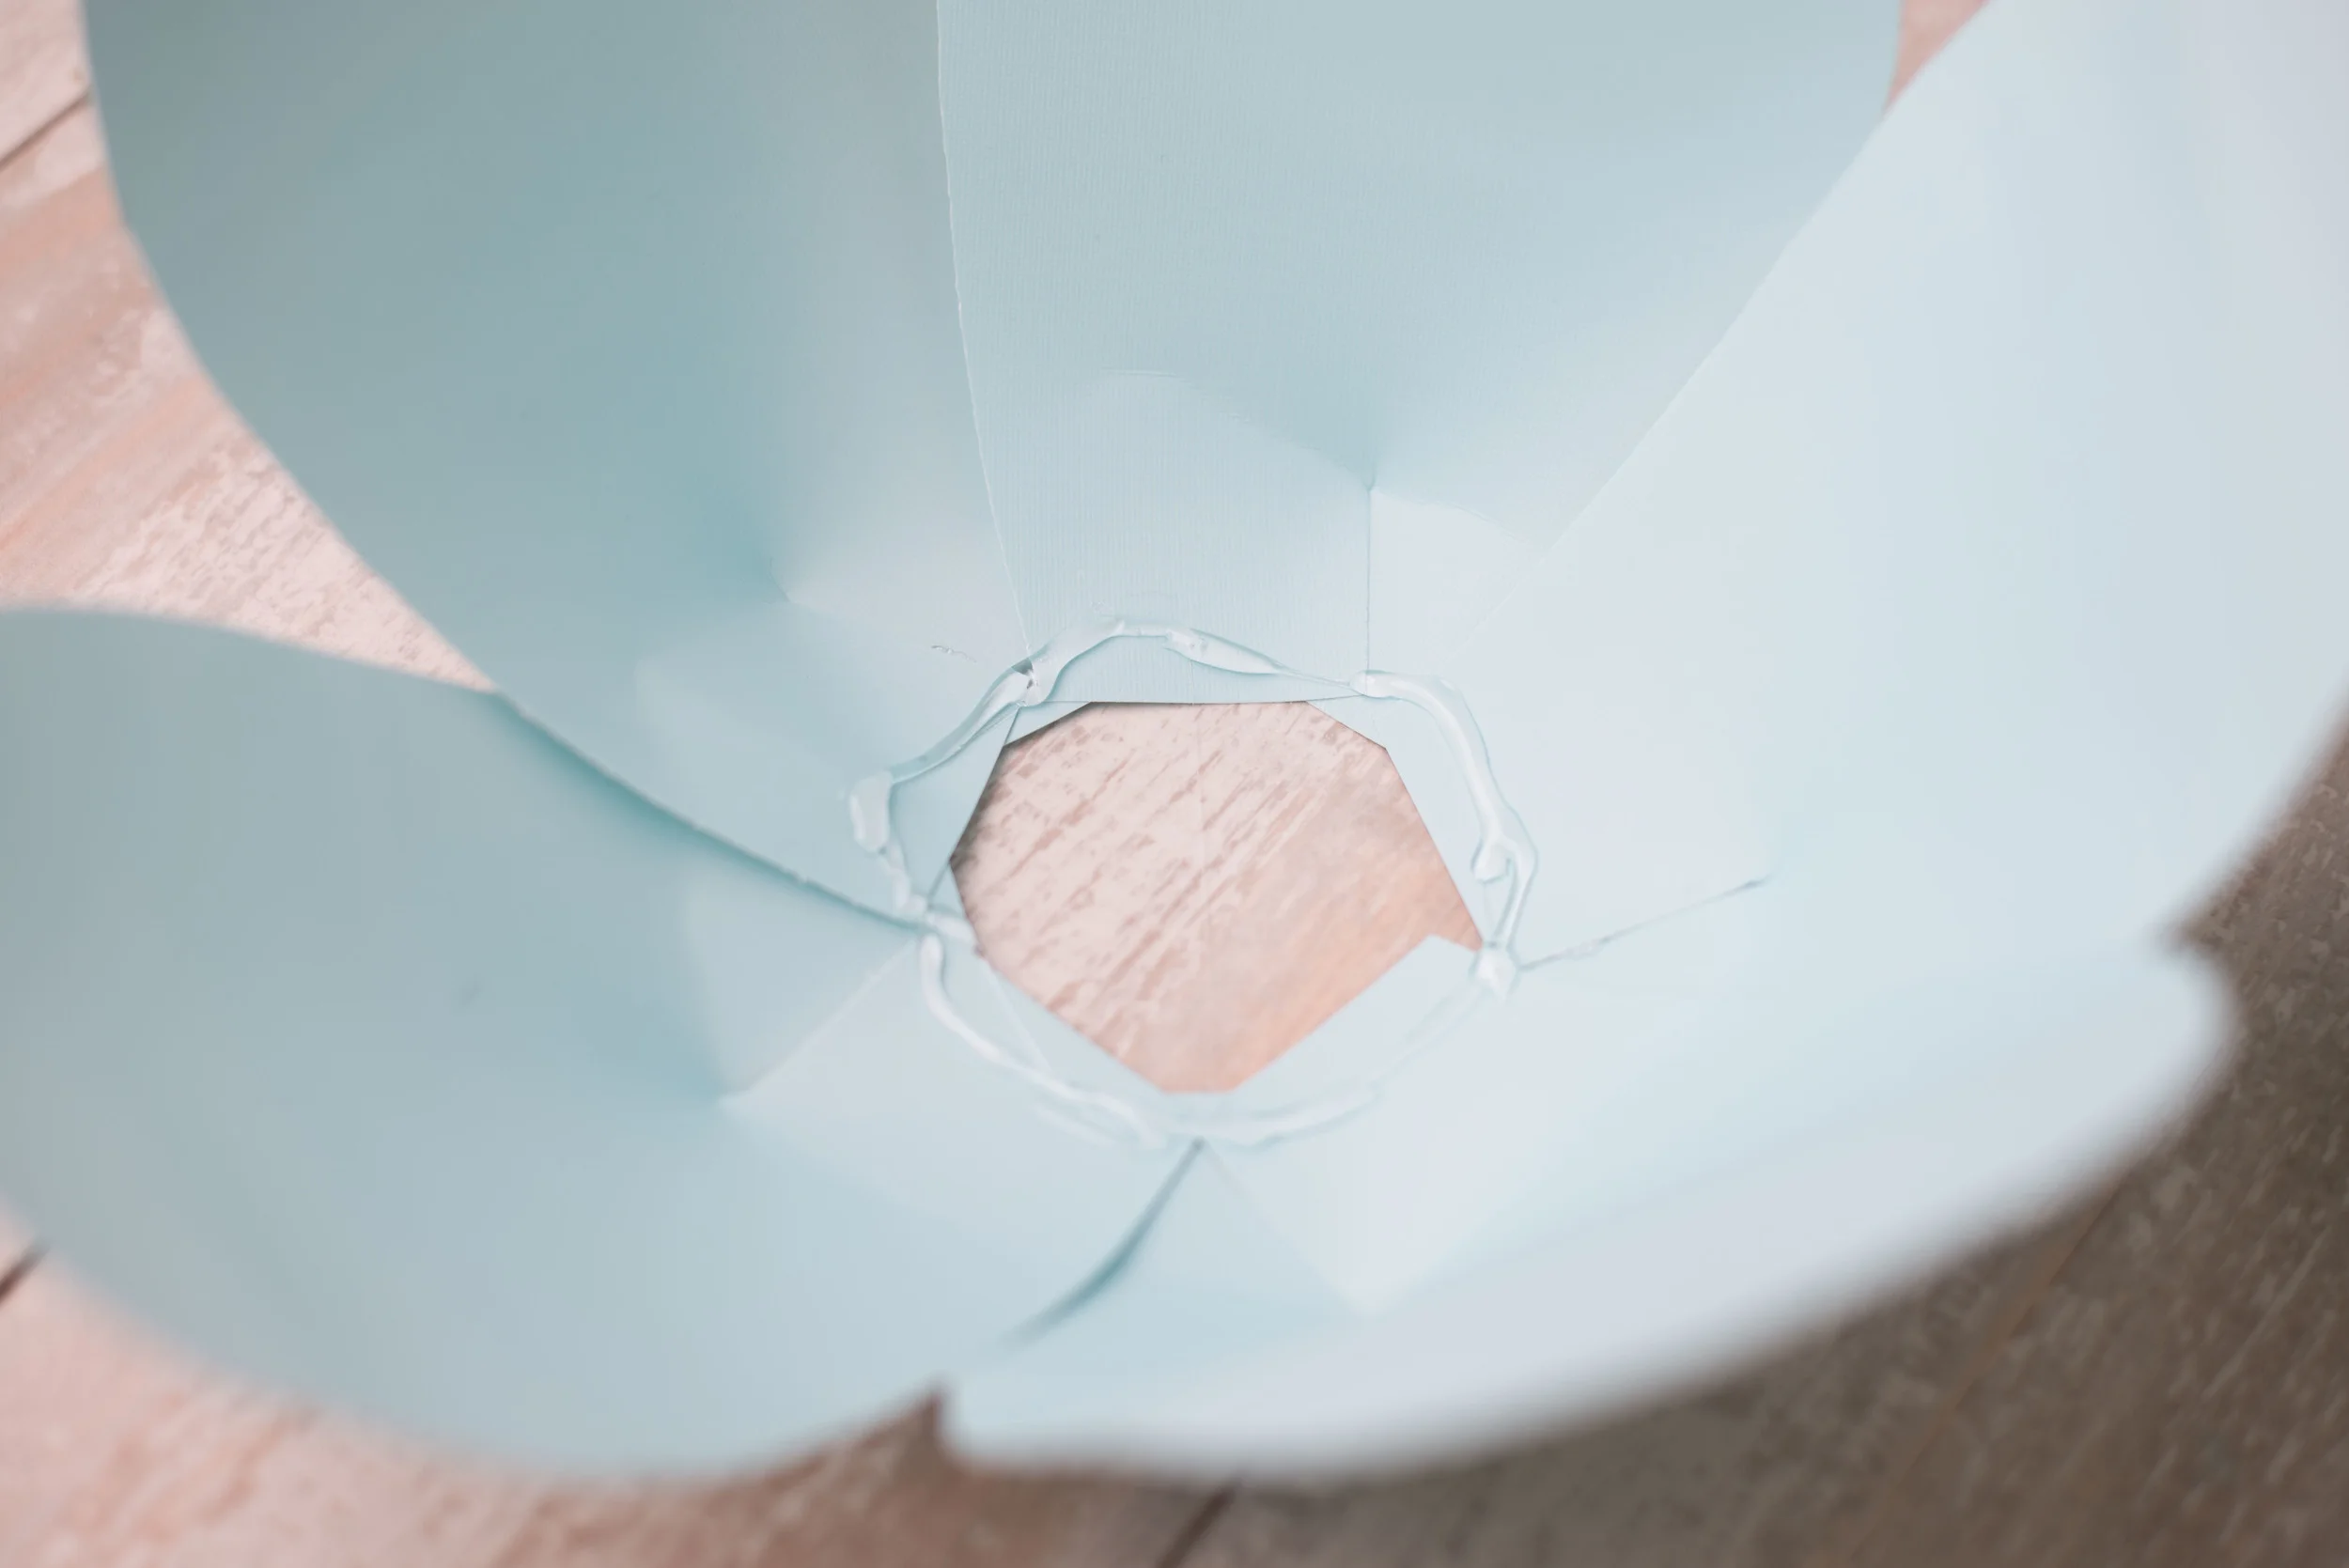
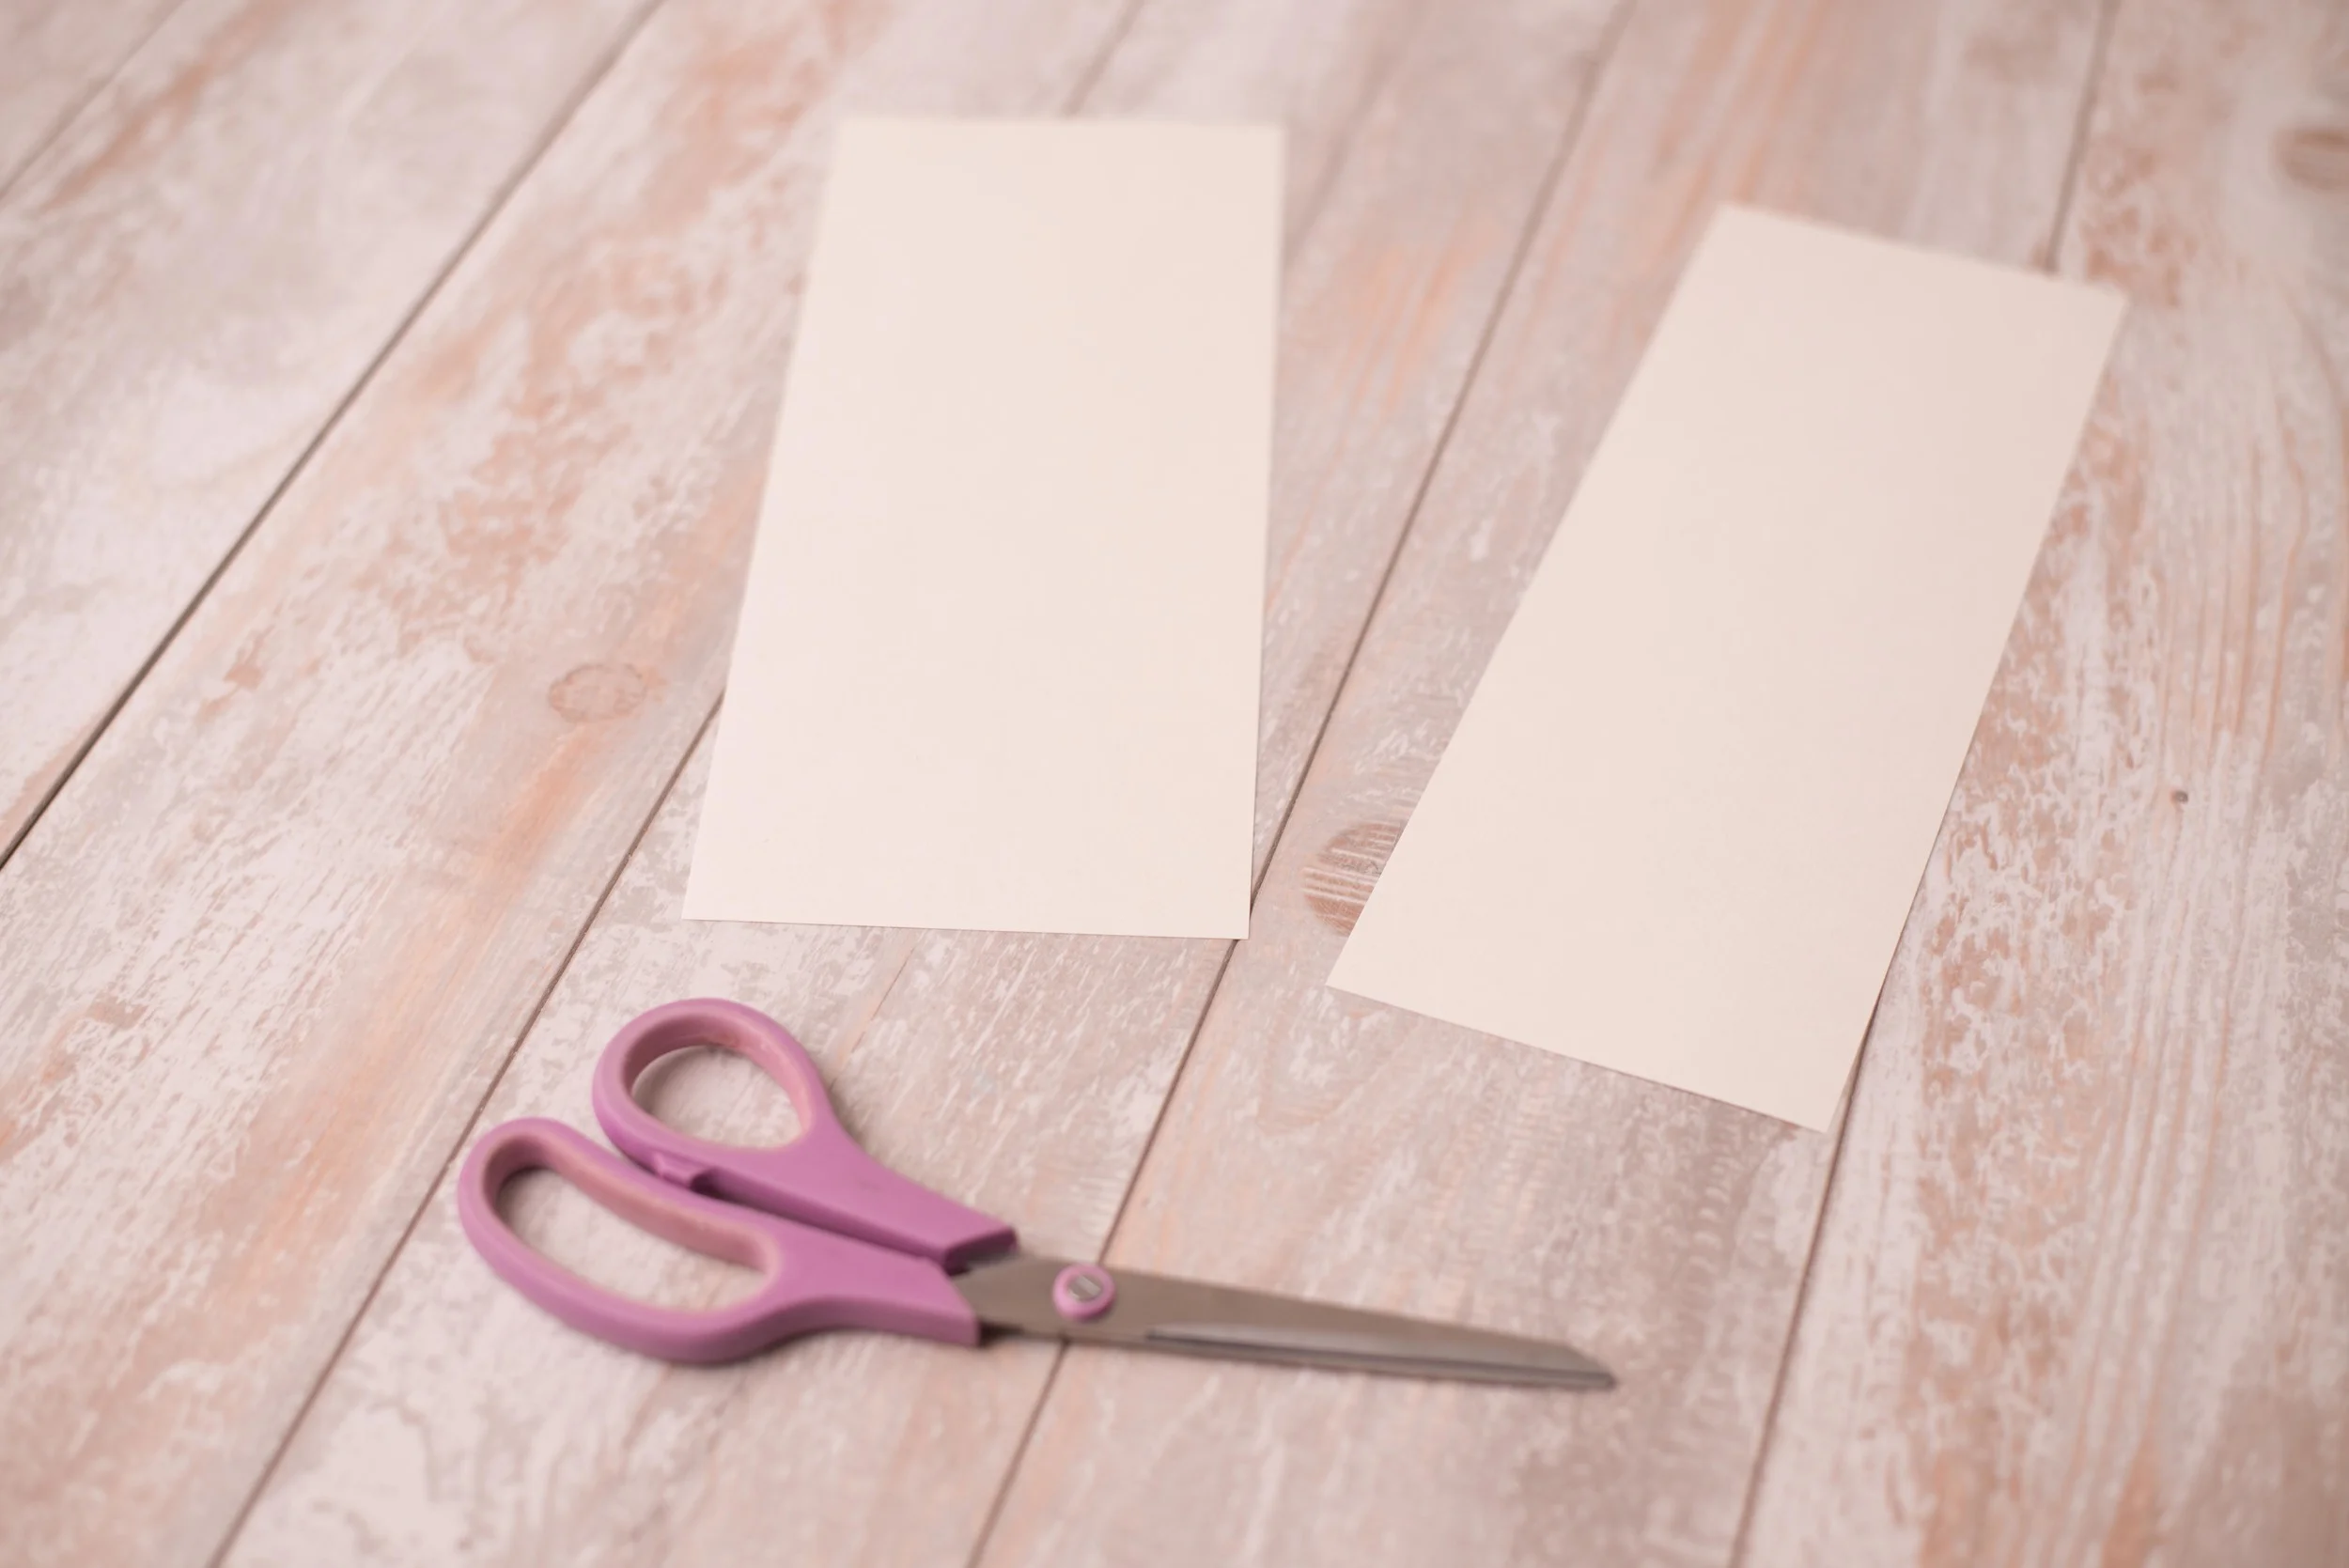
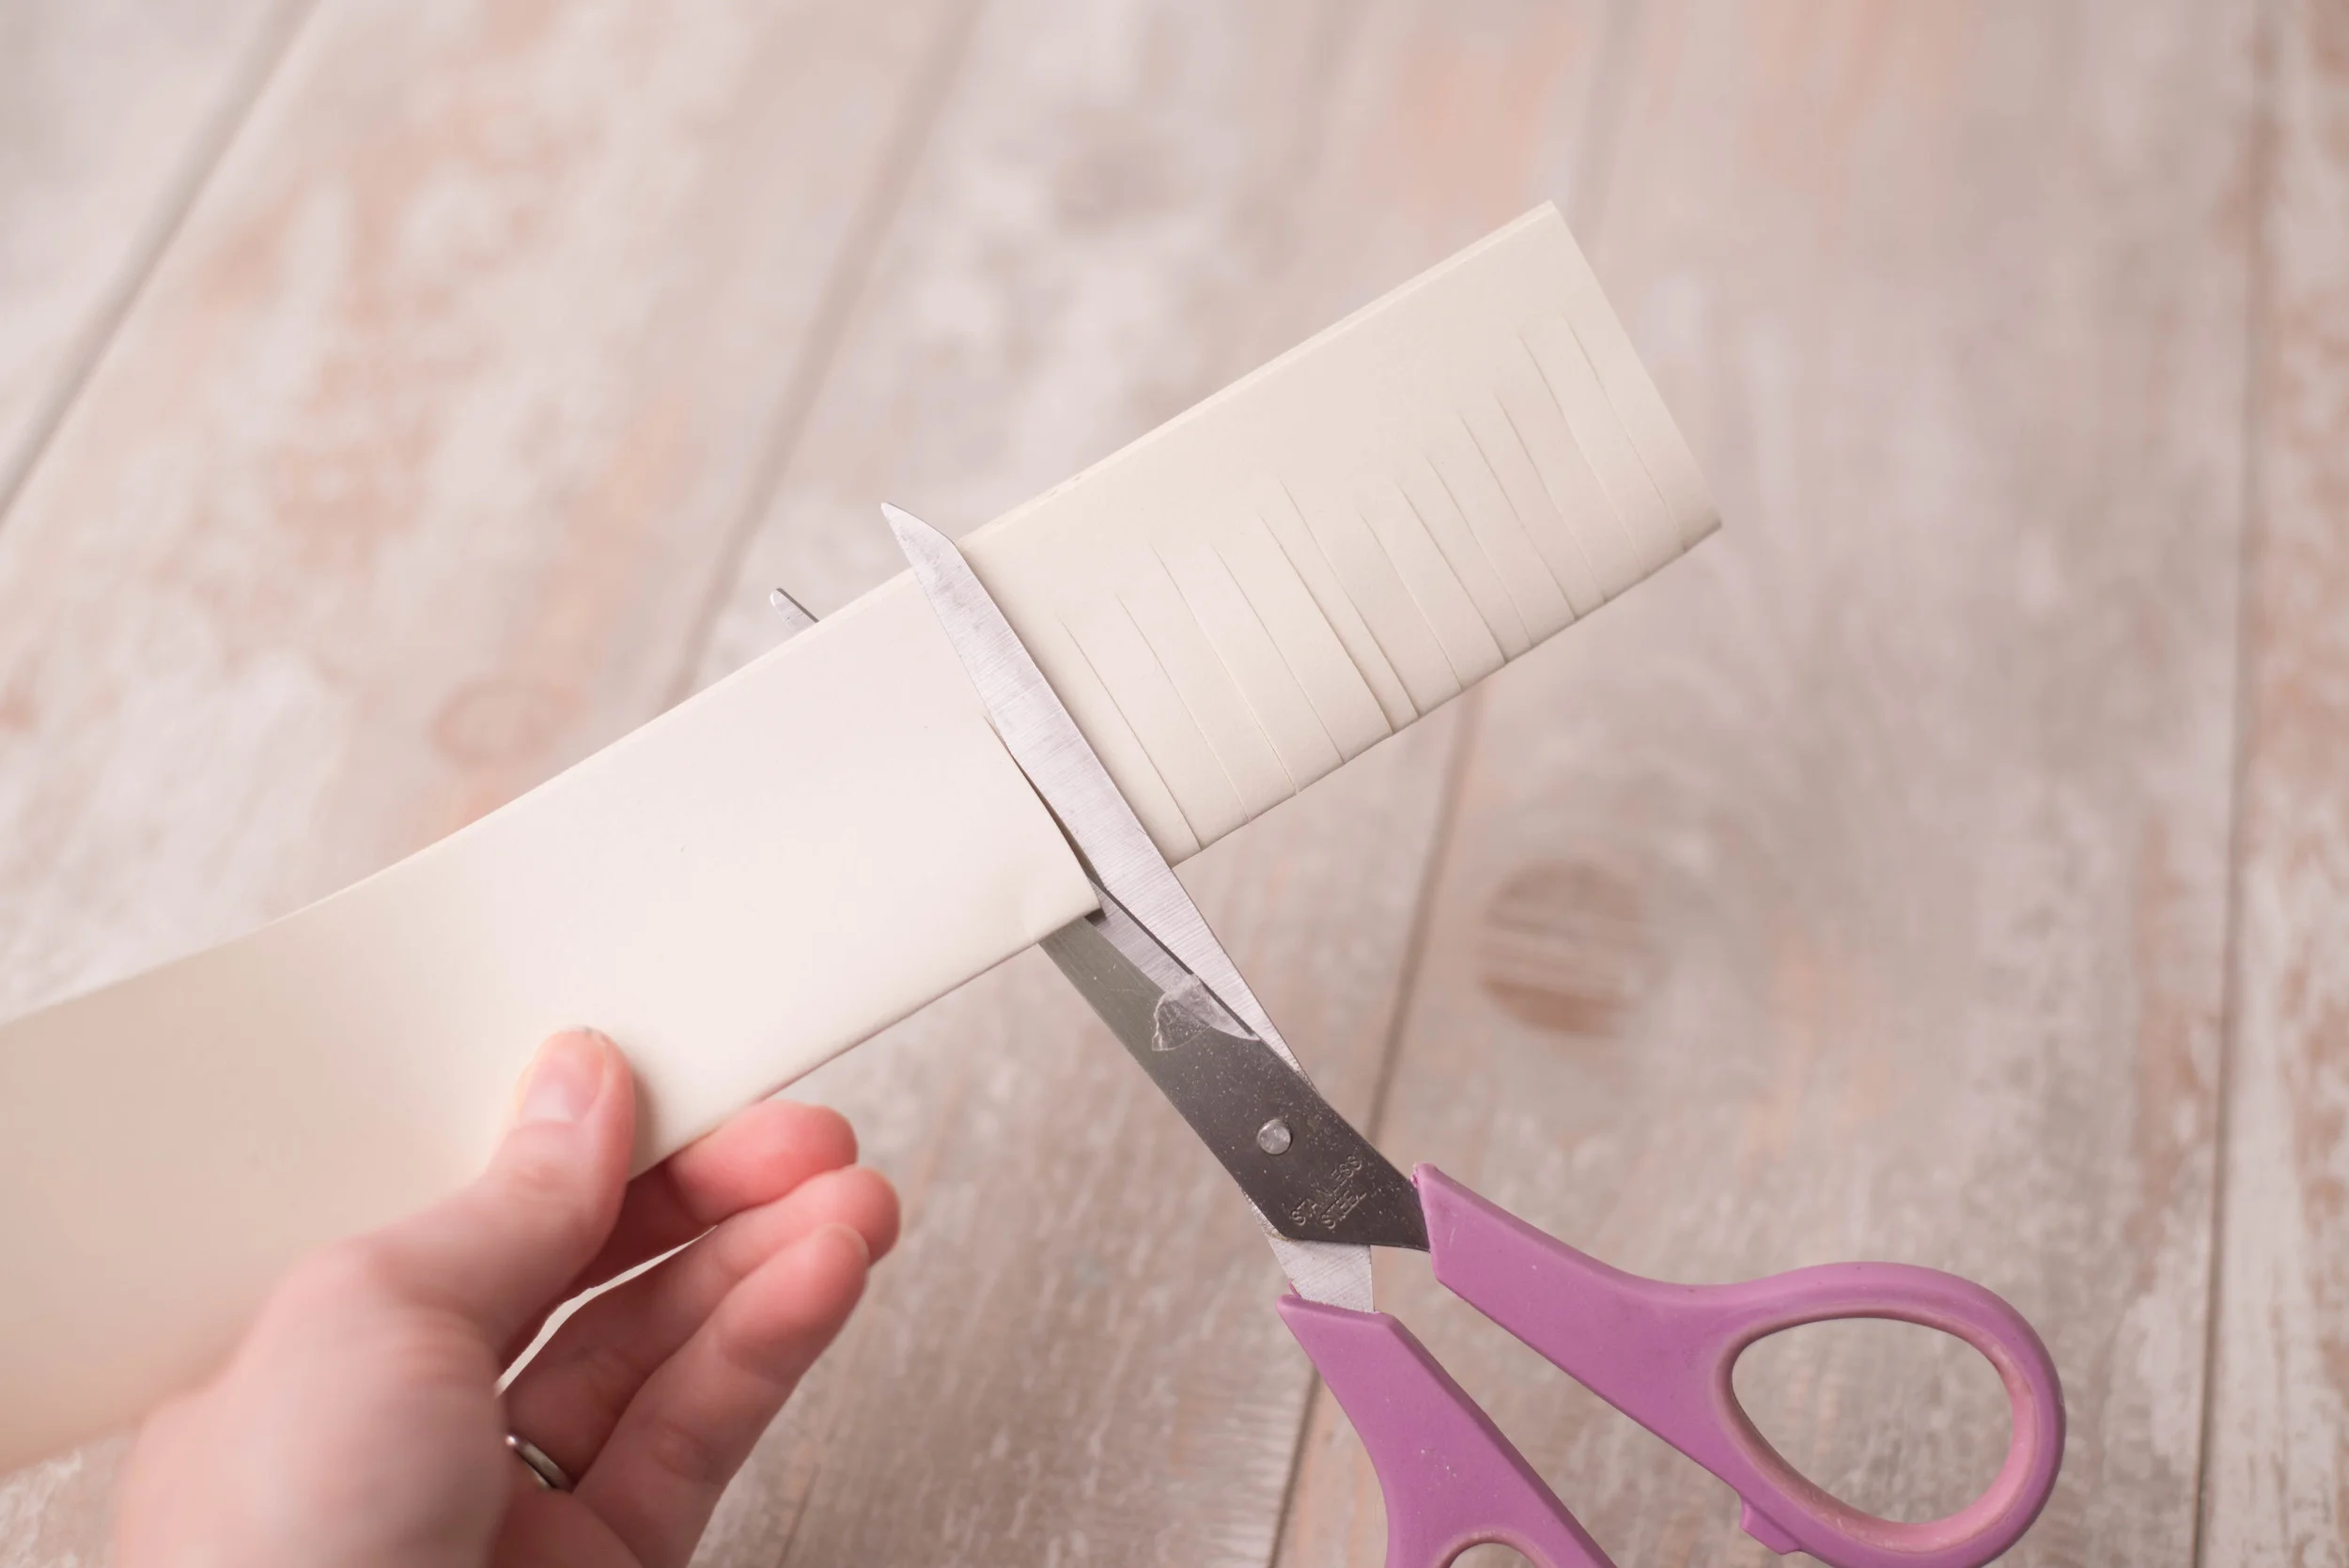
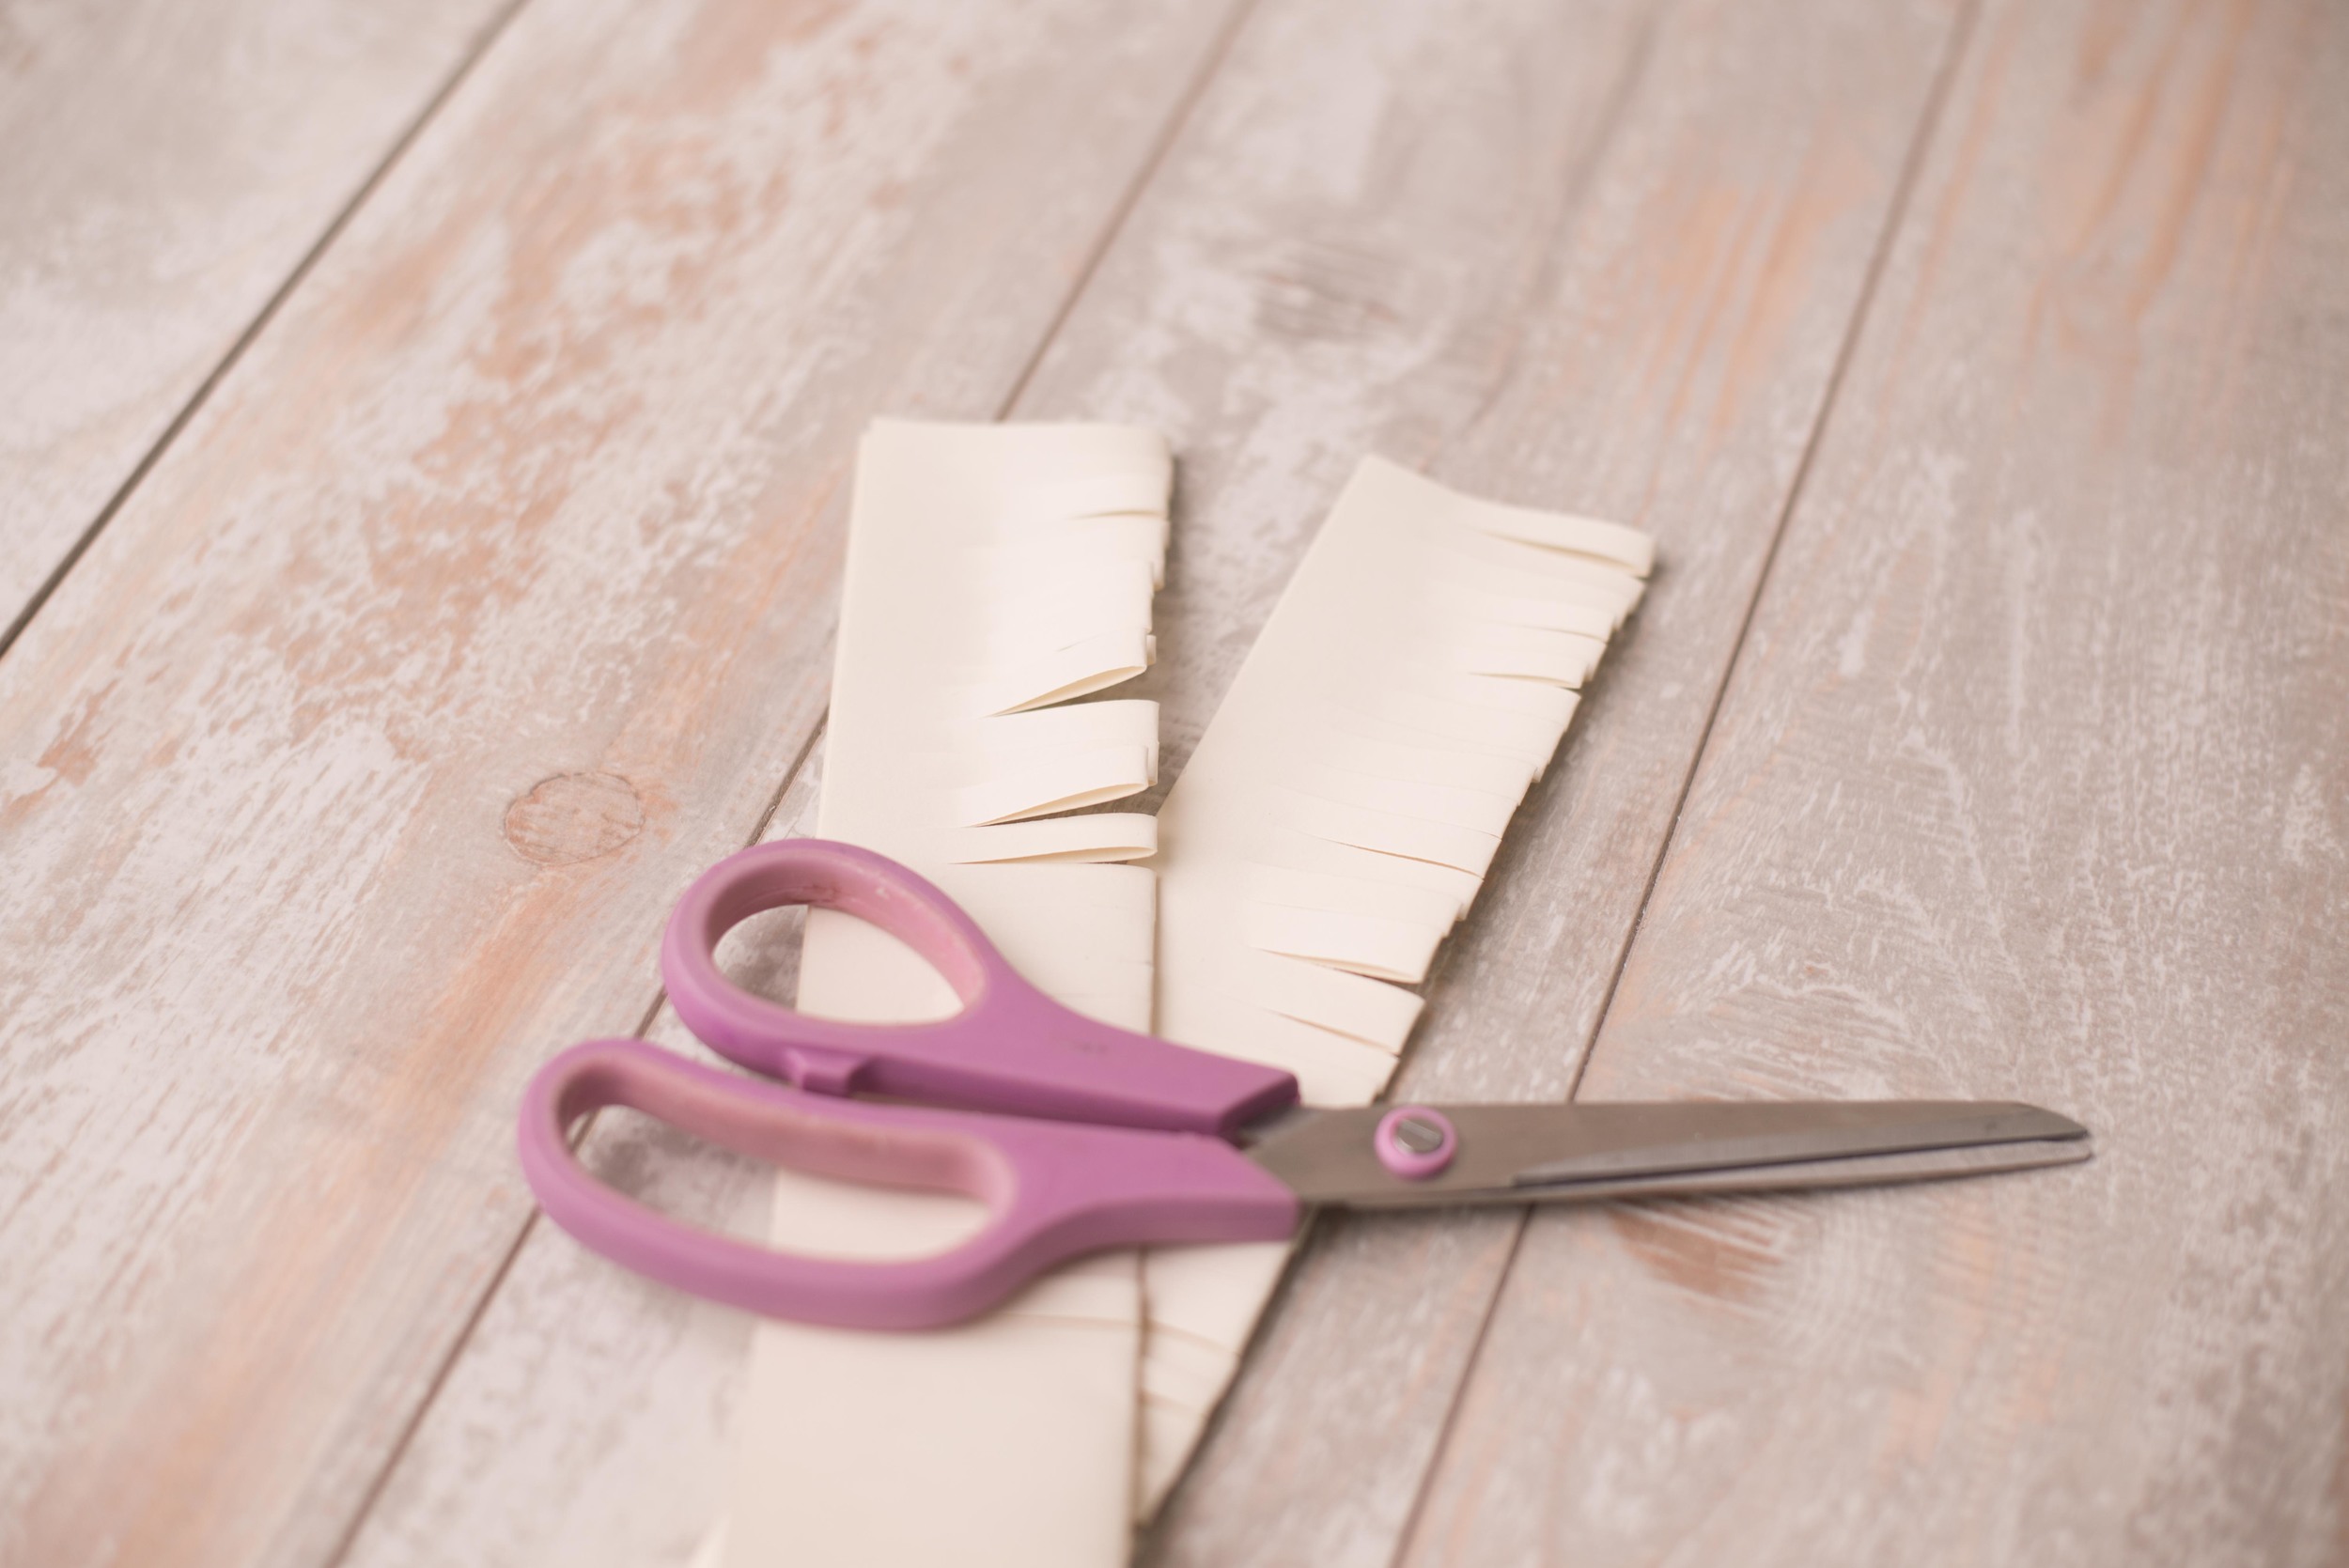
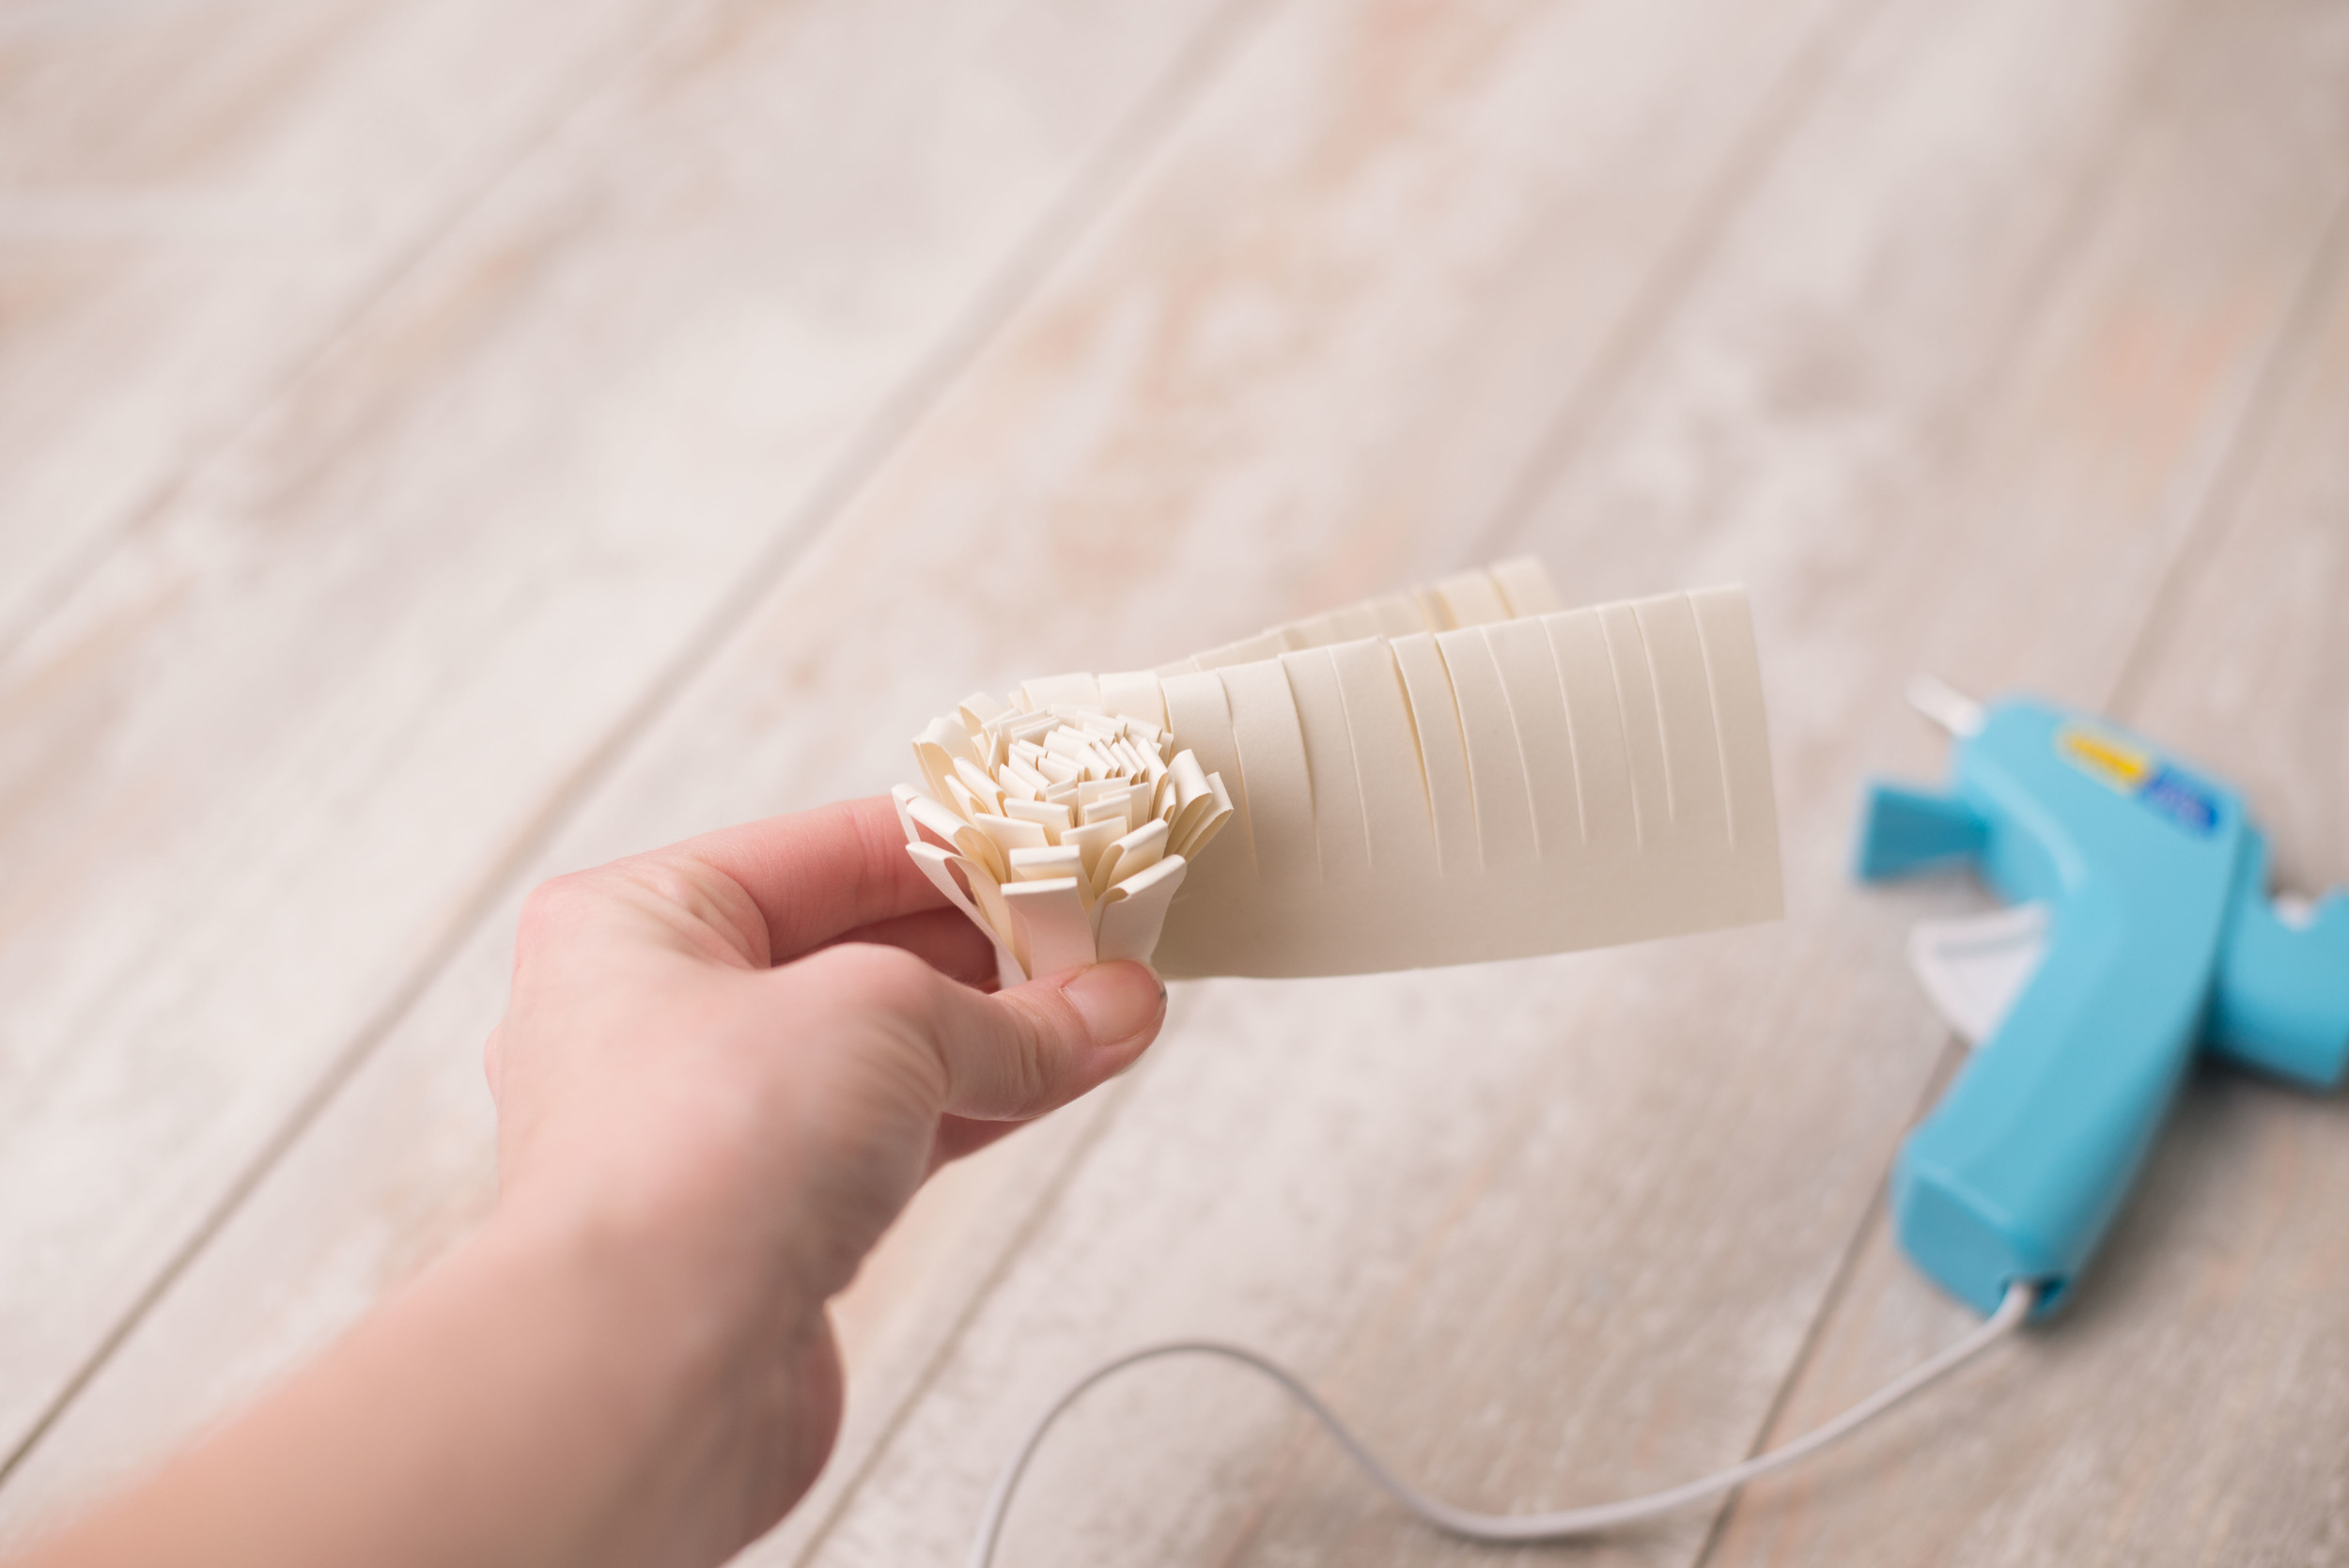
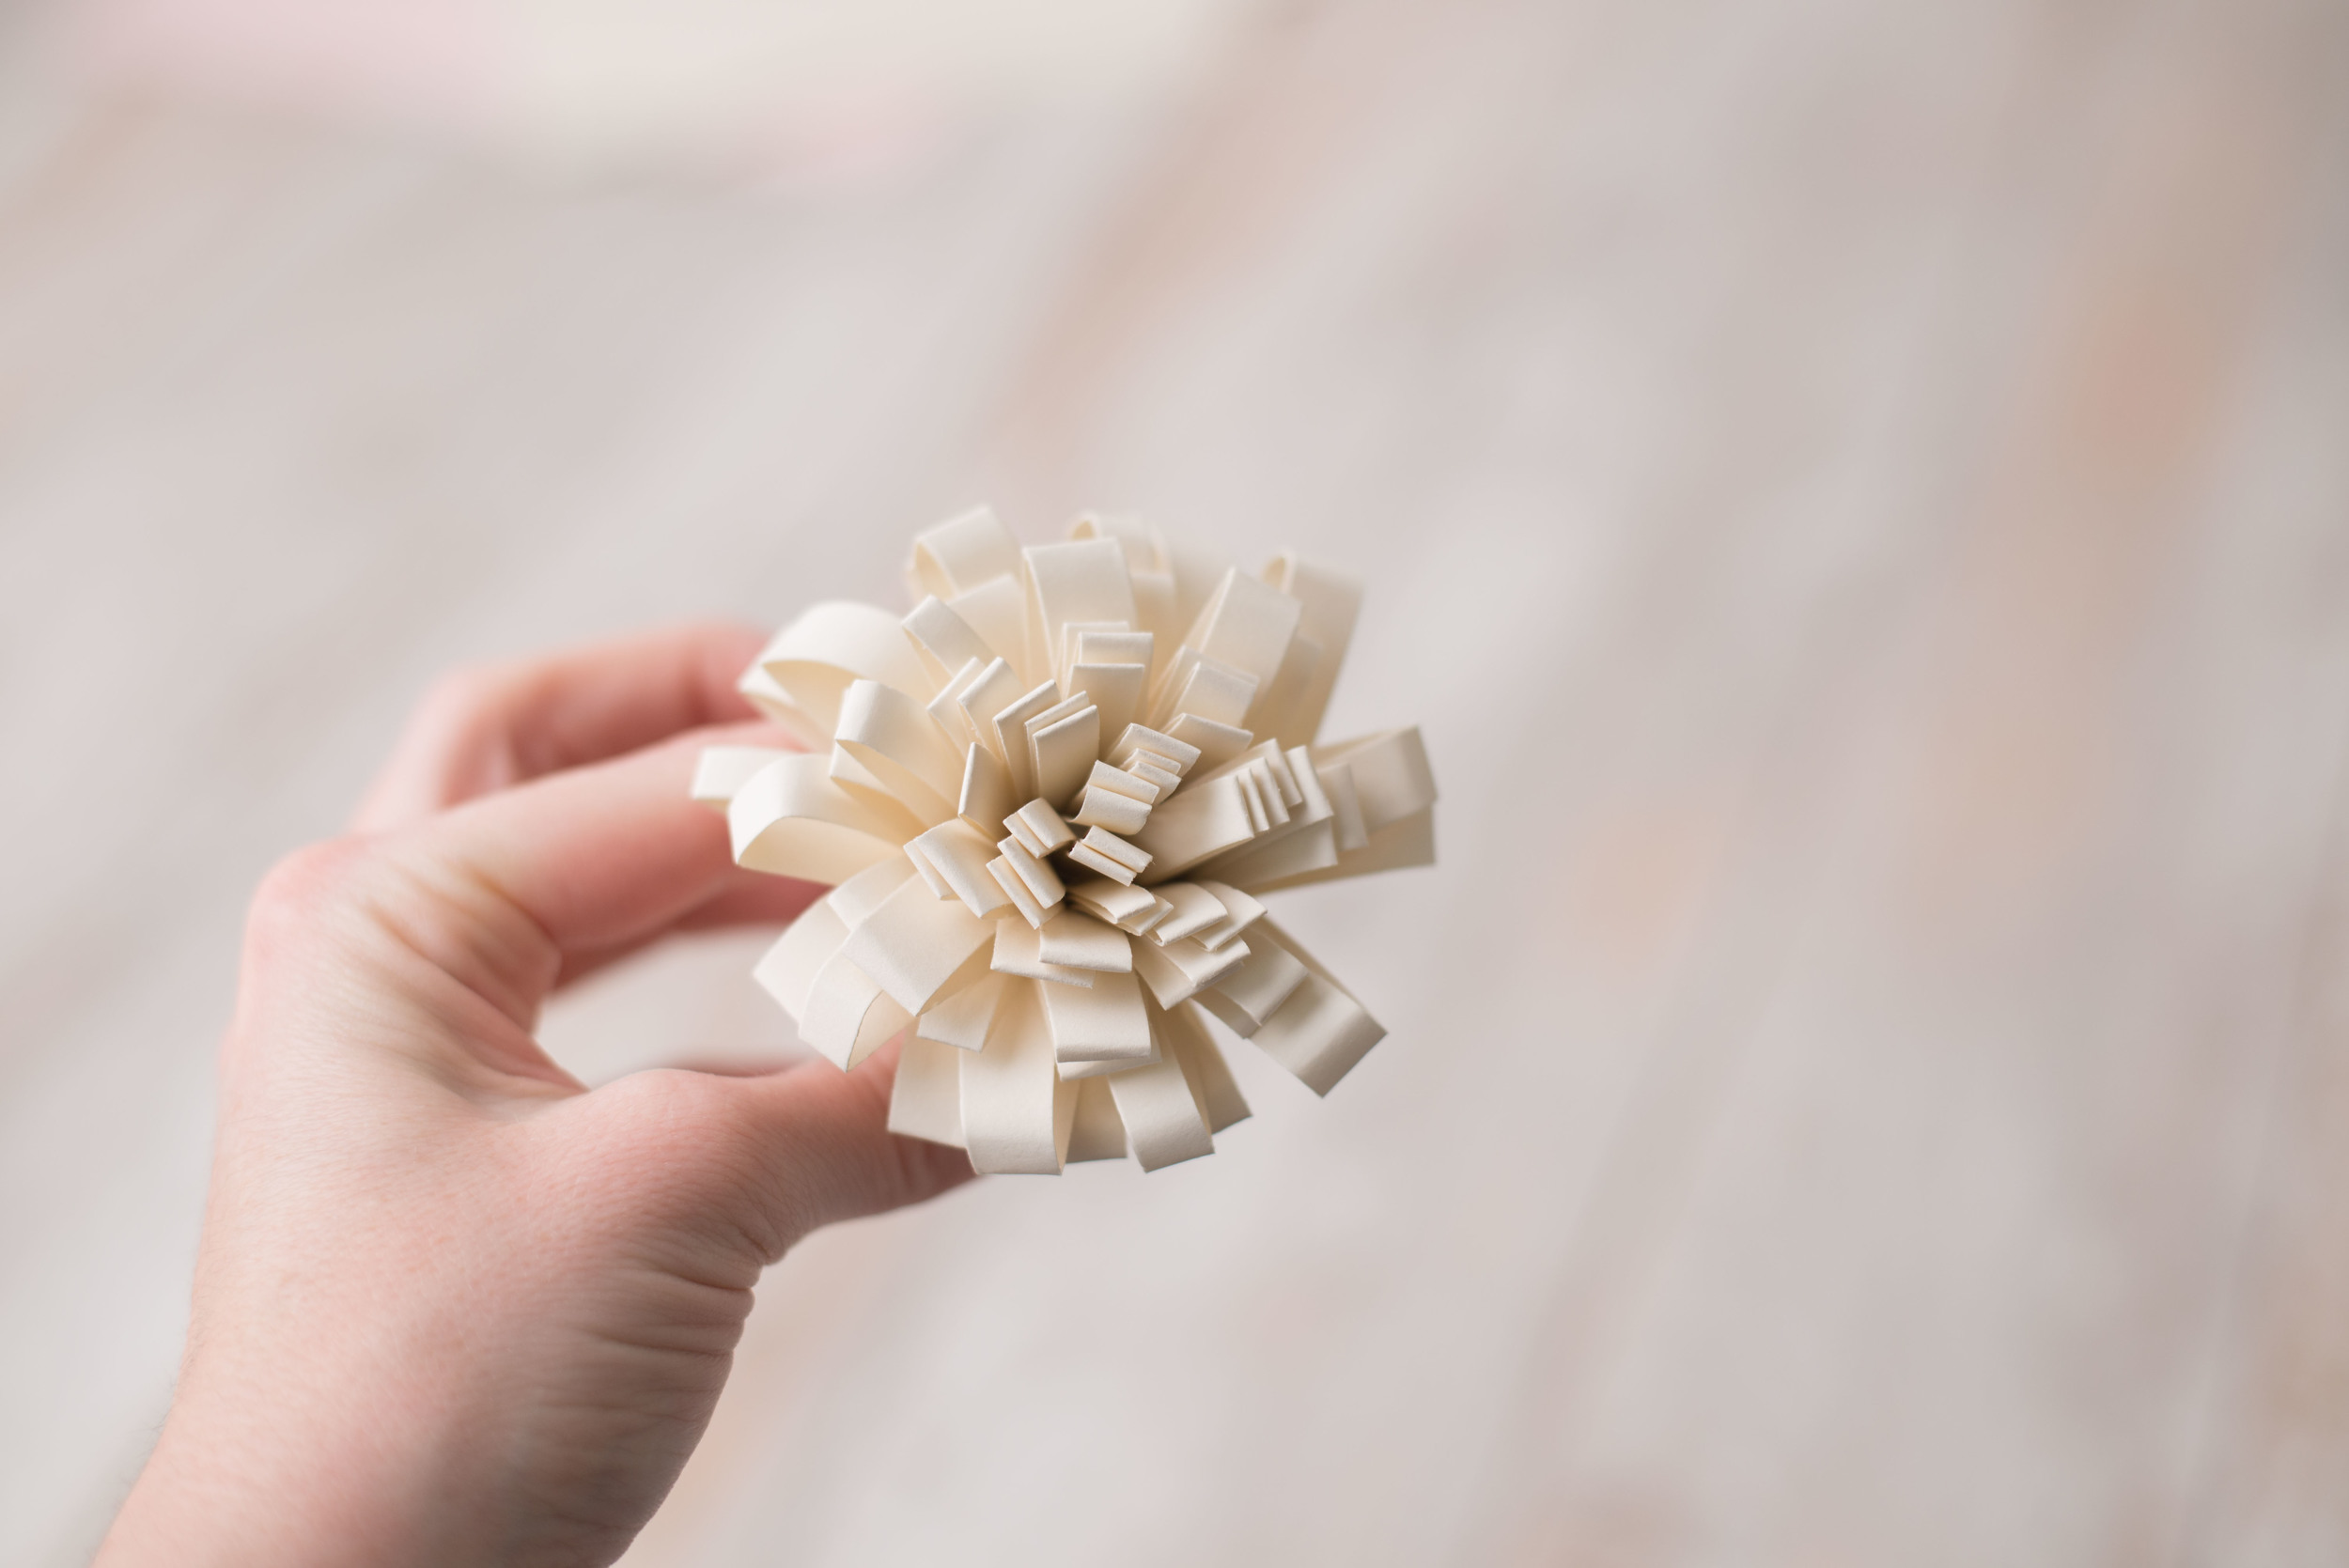
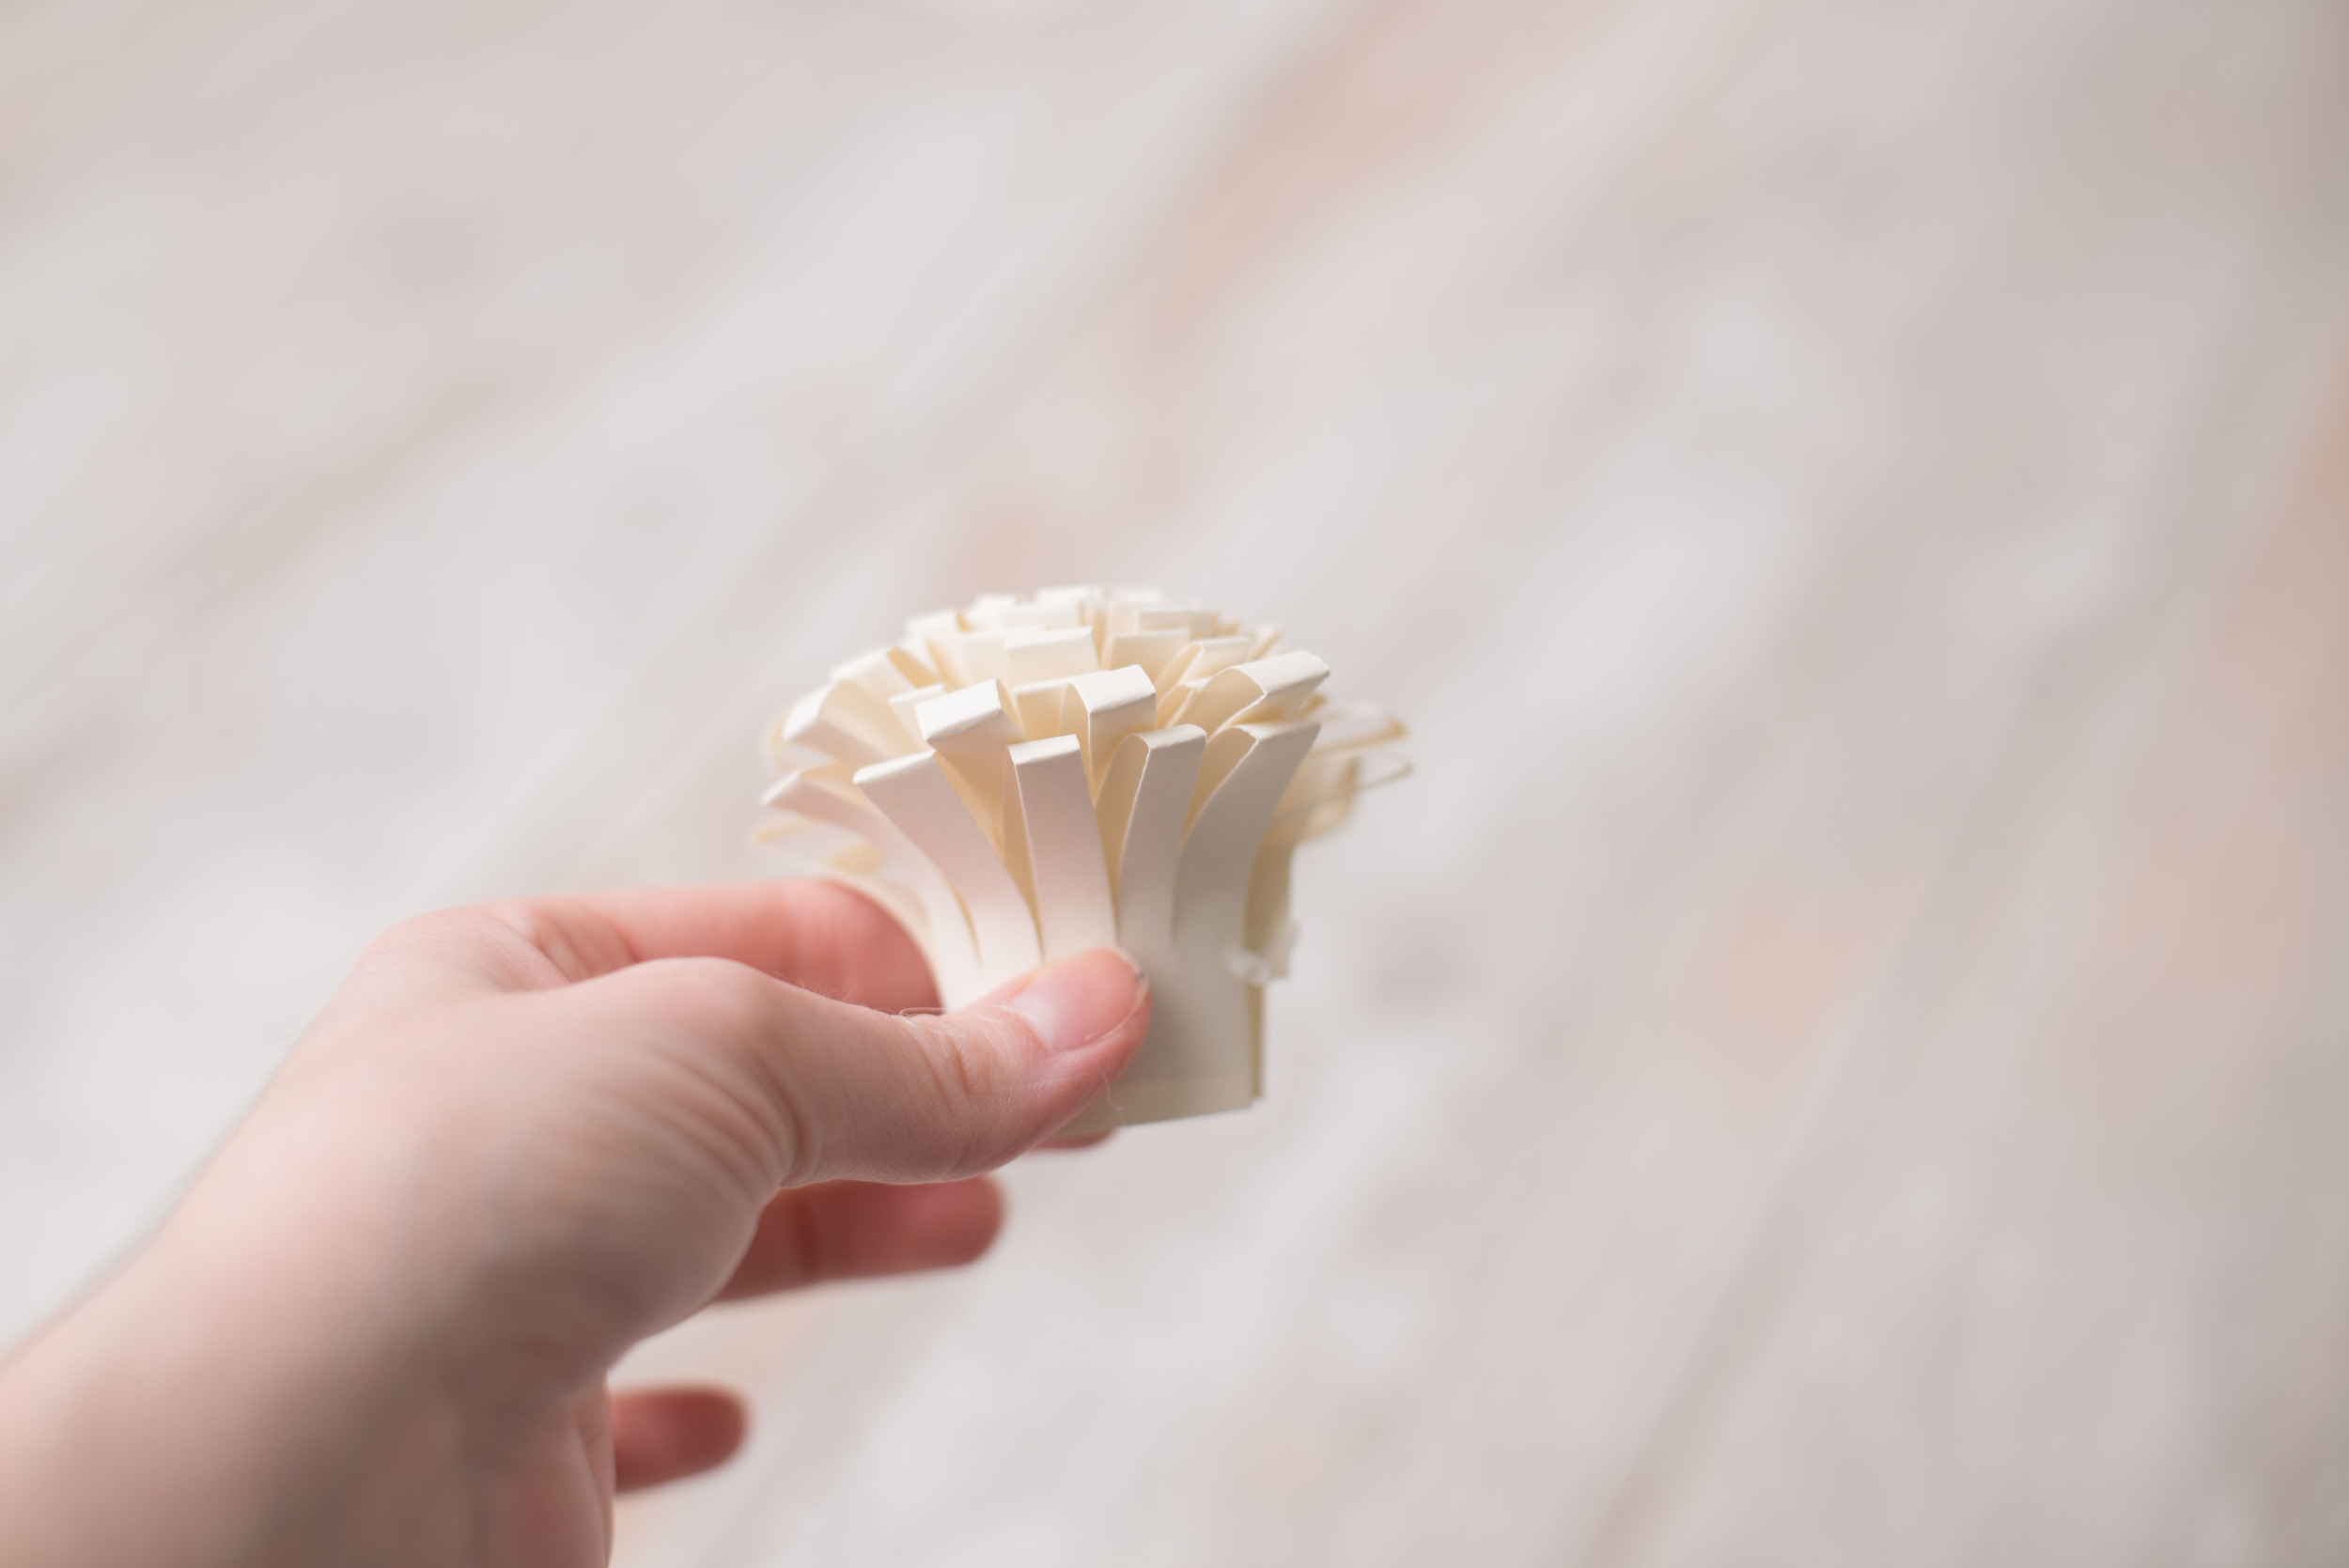
To create the center like you see below, cut two long pieces of paper and fold them in half. Then use your scissors to make a fringe in the paper. Finally, use your glue gun to dot glue along the base of the fringe as you roll the fringe up.
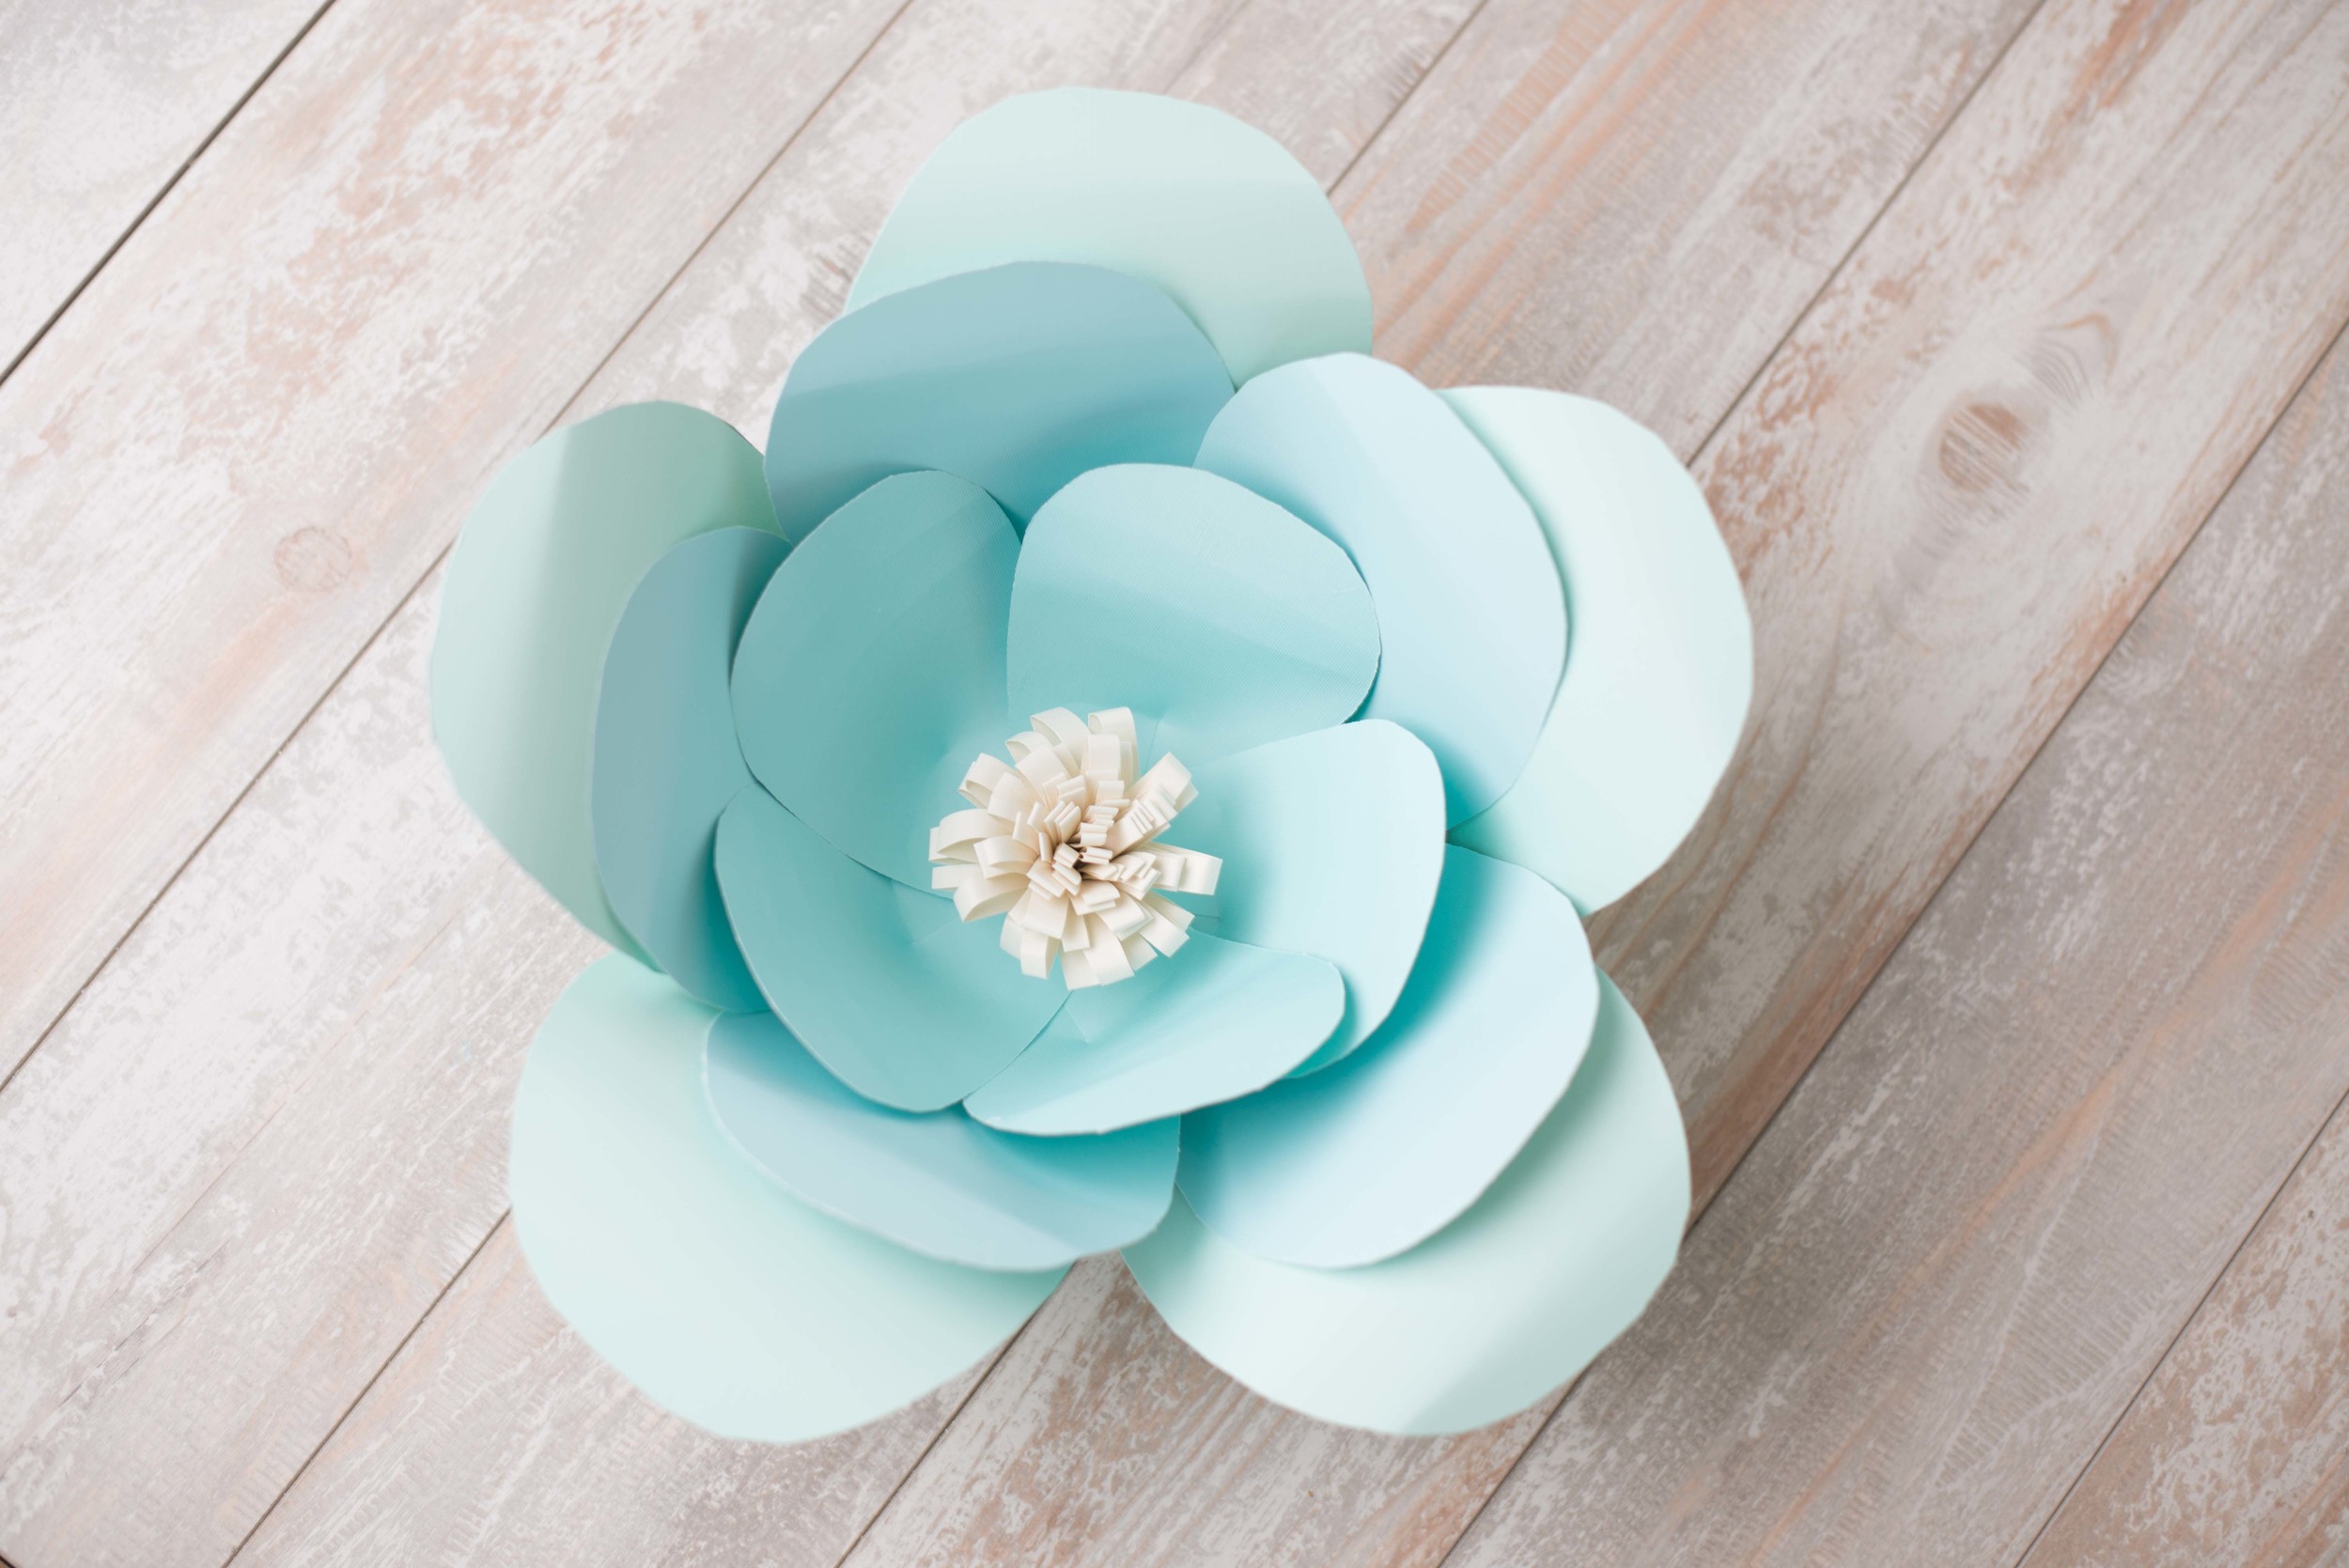
Finally, you can glue the center of your flower into the base and you are ready to hang it up & enjoy!
To hang my flowers, I glued a metal washer from the hardware store to the back of each flower, and then I hung them with magnets on my backdrop. This makes them easy to reuse and reposition on your backdrop.
Insider tip: You can buy heavy duty magnets at the hardware store, and these work wonderfully to hang the flowers. However, be very careful not to drop the magnets since they will shatter and the tiny pieces are sharp & dangerous.
Storage: These flowers are STUNNING and are very versatile, and you are going to want to keep them and reuse them for other sessions. I stack mine inside of each other and store them in a large, clear plastic tote with a cover. I add a few more with each session, and I like to change out the color scheme to make every session unique.
Have fun!